
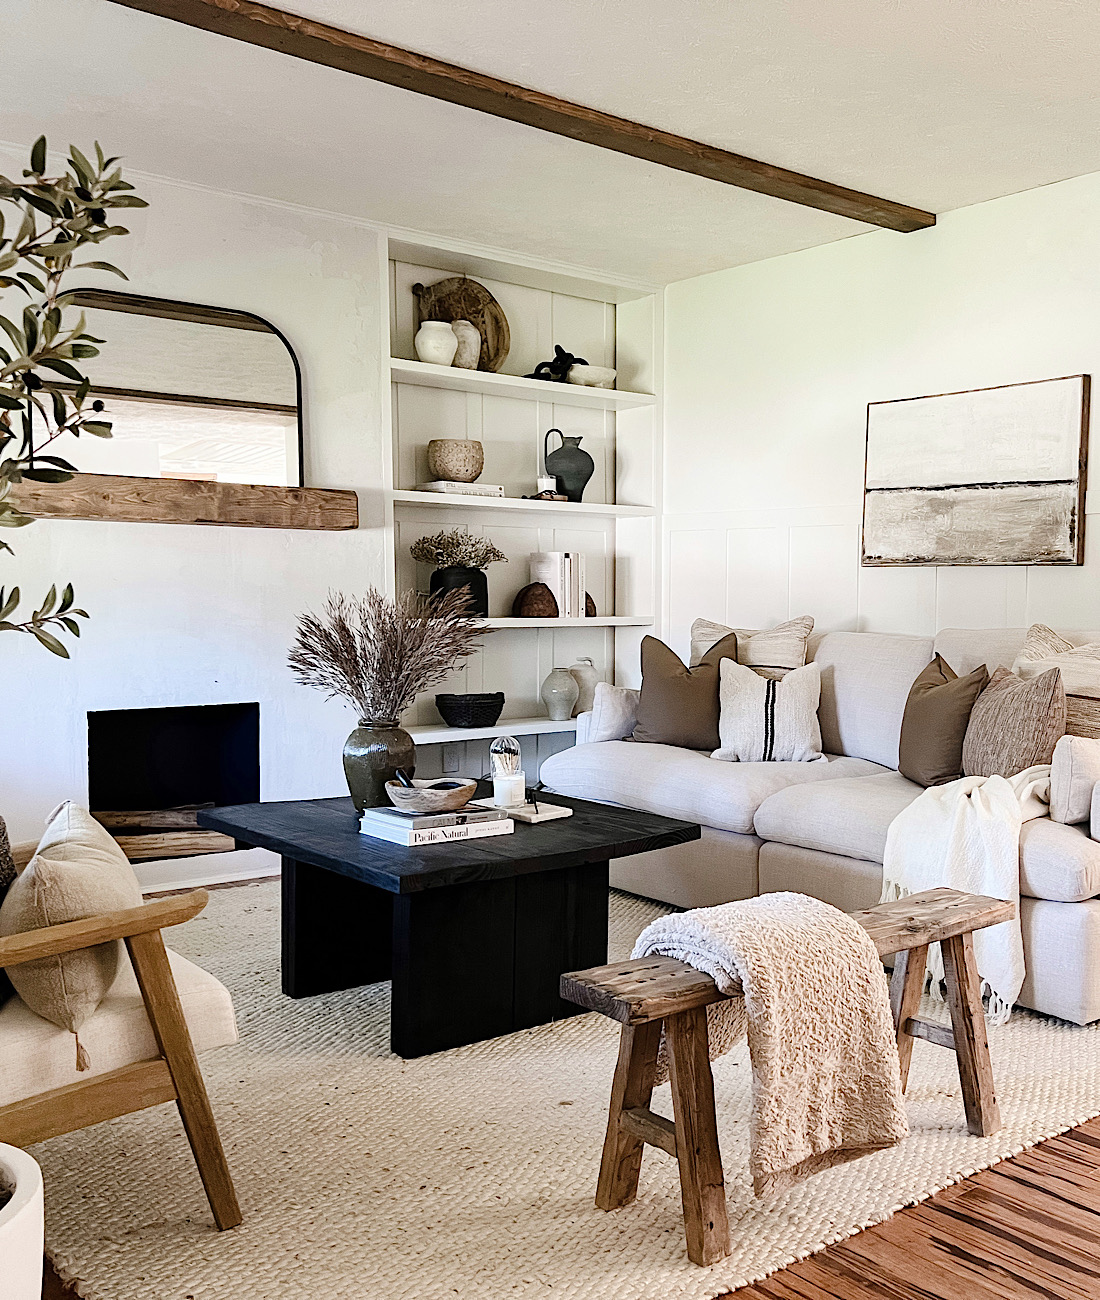
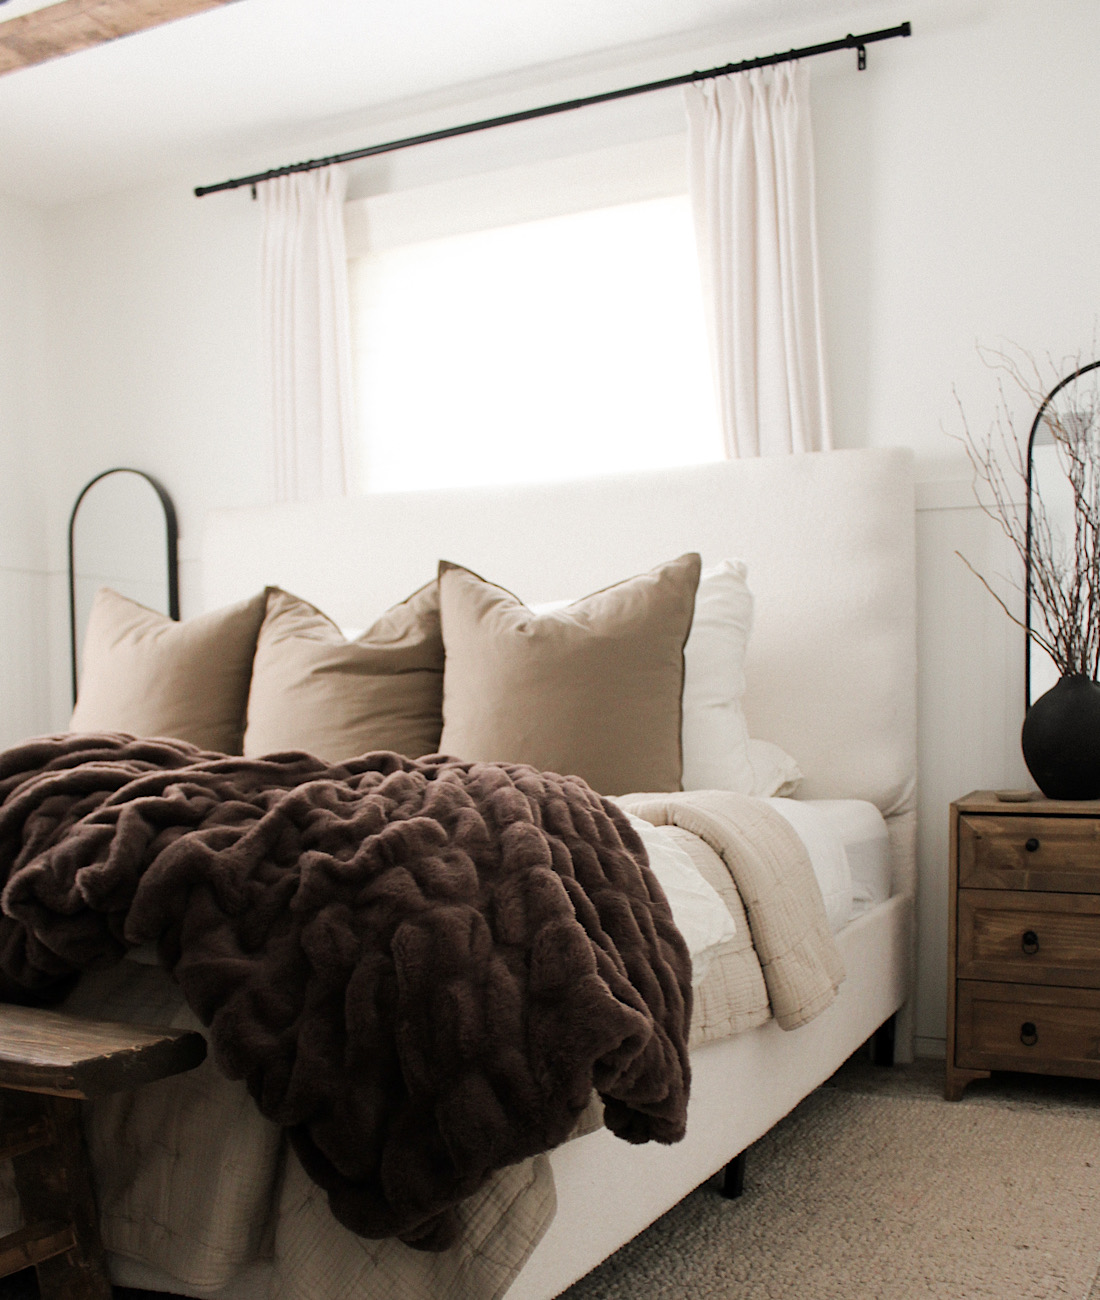
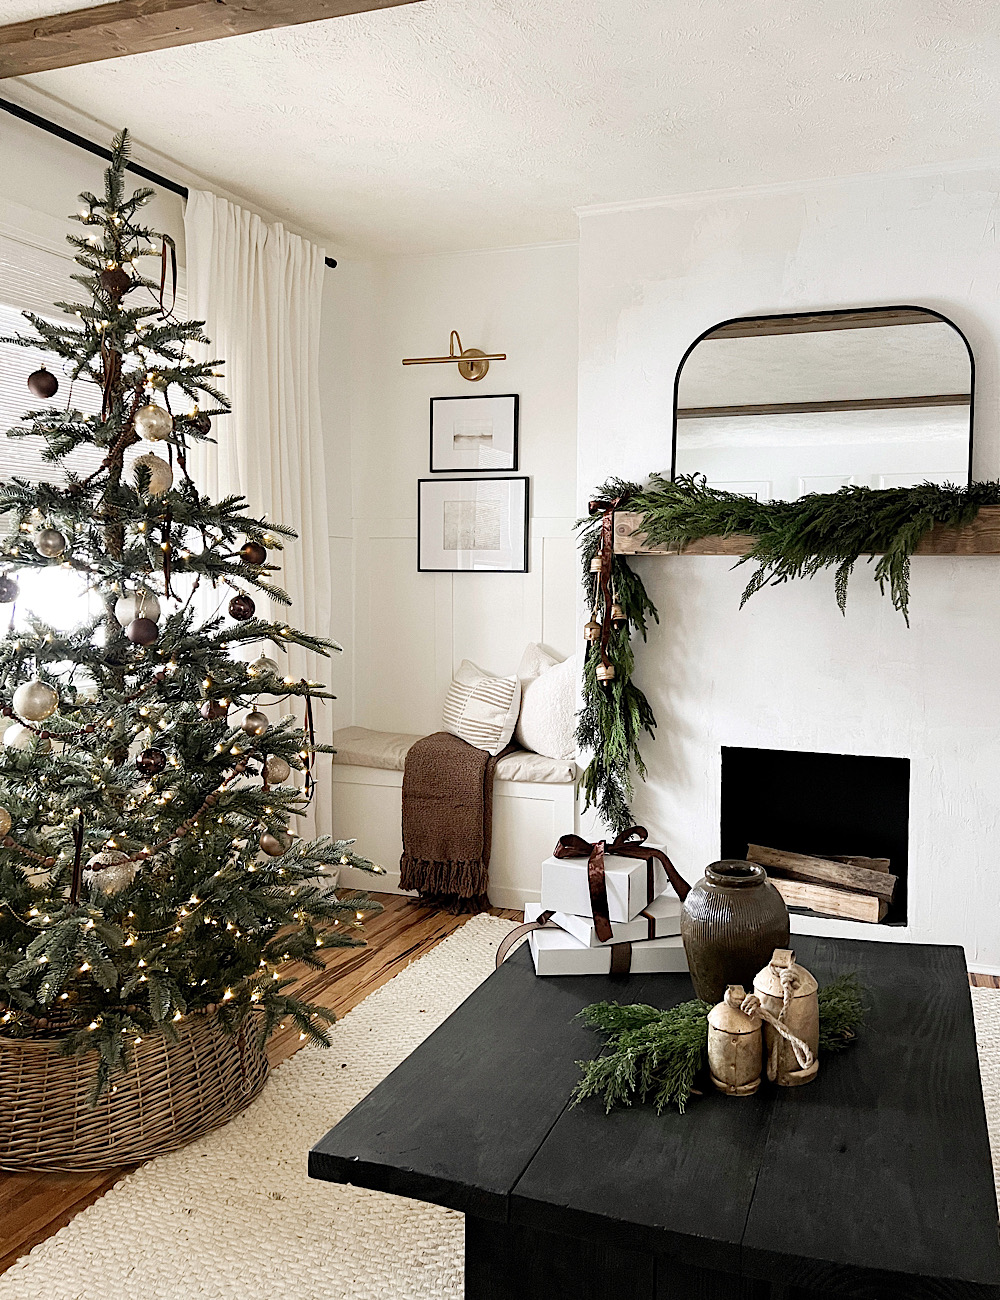
Should you add beams with 8′ or 9′ ceilings? A design question I’ve gotten quite a bit before. And coming from me, an interior designer/stylist and my midwest, textured 8′ ceilings- I say YES!
Not everyone has a grand 10 foot plus ceiling home and that’s okay! It doesn’t mean your space shouldn’t include beautiful design elements. It just means you need to adjust them to fit your space.
So, when it comes to adding wood beams with 8 foot ceilings, obviously YES! It does the opposite of what most people think. You’re thinking I have shorter ceilings, my space isn’t grand and open, I shouldn’t put anything up there it’s going to make it feel even shorter. That’s just not true and I hope you can see below how.
BEFORE

AFTER


It in fact draws your eye up. The walls appear taller, the ceiling higher up. It’s a great character addition and with the right design in the rest of the space can make a space feel rustic-modern, vintage-modern, modern-transitional. Beams really are a great design element to add to virtually any space. I love them in a living room, great room, primary bedroom, hallway, and kitchen.
I also strongly believe in the fifth wall- the ceiling. I wrote a post on ceiling treatment ideas HERE. The idea behind many ceiling treatments is to draw the eye UP, which is a great design technique in making a space feel bigger, taller, and more open/grand.
DIY WOOD BEAMS

For my 8′ ceilings I also had the hard challenge of a large window wall and my curtain rod hanging to the ceiling. Ideally, 2.5-3.5″ looks great for a beam on 8′ ceilings. 9′ ceilings could even do 4″ beams. With this challenge I went with 2″ and I still think it has enough oomph to make an impact without the little missing width I would have liked to have.

We used 2x6x16 dimensional lumber from Home Depot HERE. I love that I have one continuous board across as my beam this way, but if you have to cut it to fit your space I would alternate where that cut is on each beam so you don’t end up with the cut pieces all being in a row.


If you have the space to go a little wider ex: 3-4″ it’s very simple to create using the same wood, 2x boards or for a thinner look use 1x boards. Cut each side to 3″ and the top board for the beam 5.” Essentially making a box with an opening on the bottom. We did this same method to make our Faux Beam Mantel, find that post HERE.


STAIN
I finished the beams similar to my mantel using my custom stain mix, find HERE. I did change it up a little on more recent projects I’ve added Rustoleum Flagstone instead of Weathered Oak, but it is out of stock or no longer being made. I added Varathane Western Oak because it’s a little less gray.
1/2 Minwax Provincial + 1/4 Western Oak + 1/4 water. All wood is different so be sure to test on a scrap piece. Also, some pieces may need adjusting. I added more water because one board took it darker.

For the box beam mantel we used 2×4 to attach to the concrete fireplace. The same method is used for ceiling box beams. However, just a single board hung flat is all you need.
INSTALL TIPS

We drilled directly into the ceiling joists using quality drywall screws. If you aren’t lucky to hit joists for all boards I highly recommend quality heavy duty 50lb+ anchors or toggle anchors for reinforcement.
If hanging box beam like the mantel we made as your ceiling beam you’ll first attach a 1×4 board to the ceiling directly. Then, cover with the box beam and attach to the ceiling board.


Love this look. How far apart did you space the beams? Looks like maybe 6 ft.?
I love this and glad I found this page. I wanted ceiling beams and was worried because I have a smaller place with 8′ ceilings. The day I saw this page I was buying the lumber to do 2″x6″ beams in my home. Thank you so much for this post.
Hi! Can you tell me what you did on the sides of fireplace? Is the left board and batten and how high up and ie the right side paneling?
Thank you!
These look amazing! How far apart did you space these?