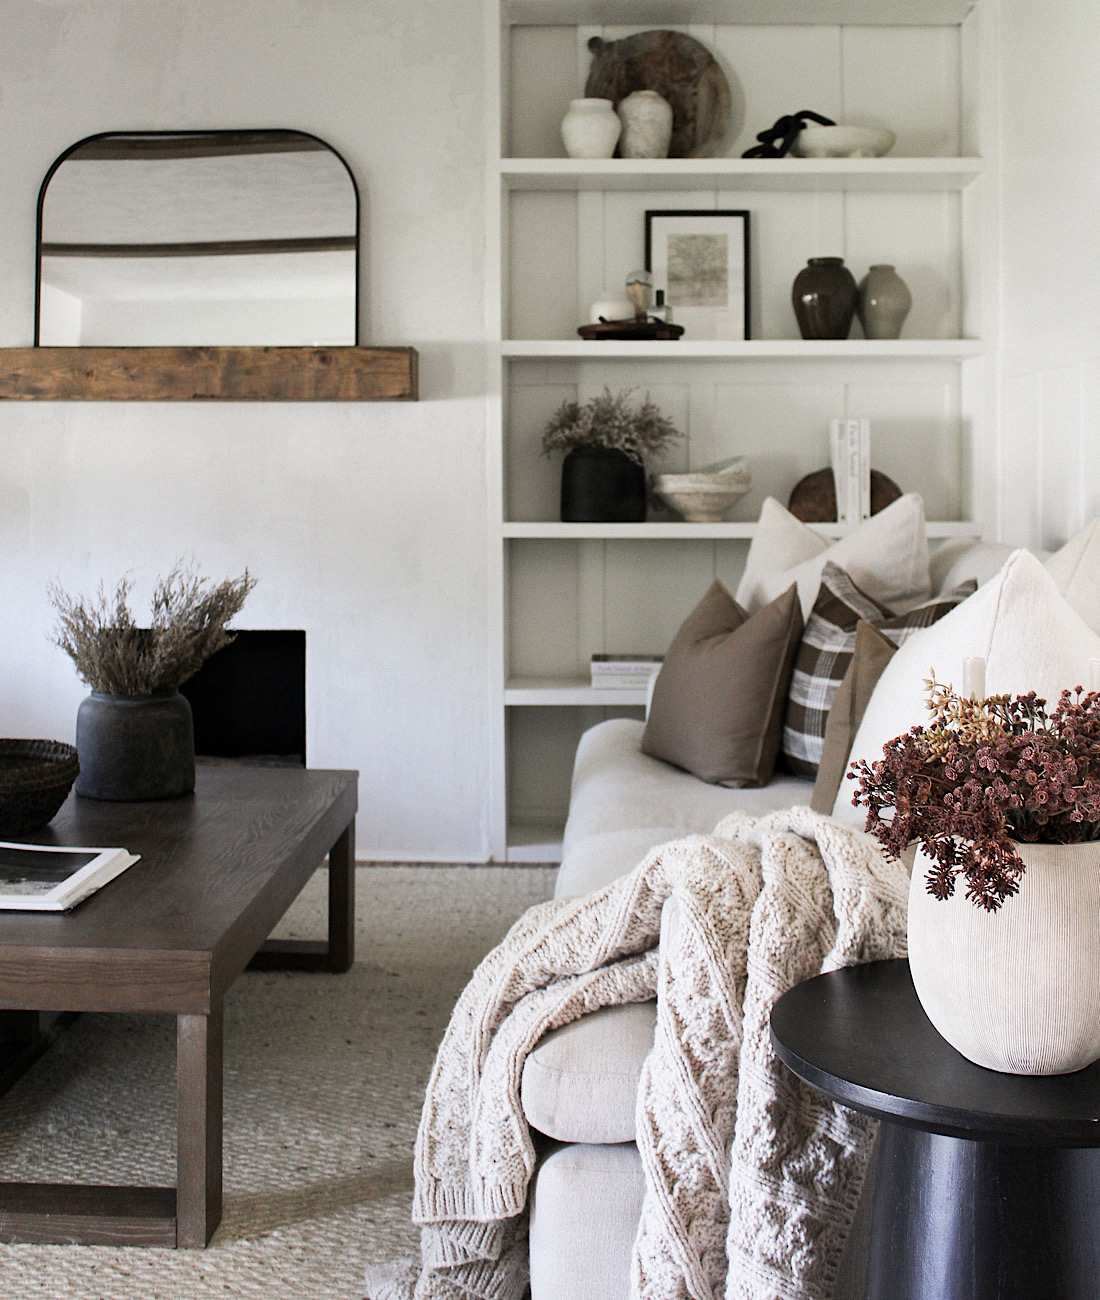
I’ve wanted to add box/picture frame moulding to my home for quite awhile. When we recently completed our kitchen renovation which consisted of removing horizontal shiplap for tile, I knew I had the perfect spot for it! The entry was the first project we did adding shiplap to our home, and now the last space with it horizontal, which honestly I feel is a little tired and time to switch up.
I wrote a post beginning of the year with wall treatment trends and ways to add them in a modern yet classic/timeless way HERE. Since then, this project has been in my mind to complete. I’m glad we finally tackled it. Sharing how we did it, what we used, and some tips for completing this easy project in your own space!

PLANNING MOULDING LAYOUT
I used Canva to draw out my spacing and get my measurements to stay organized. There’s really so many ways to do this. You can even use Pages or Notes on your iphone. Canva’s free version is all you’d need to map this out.
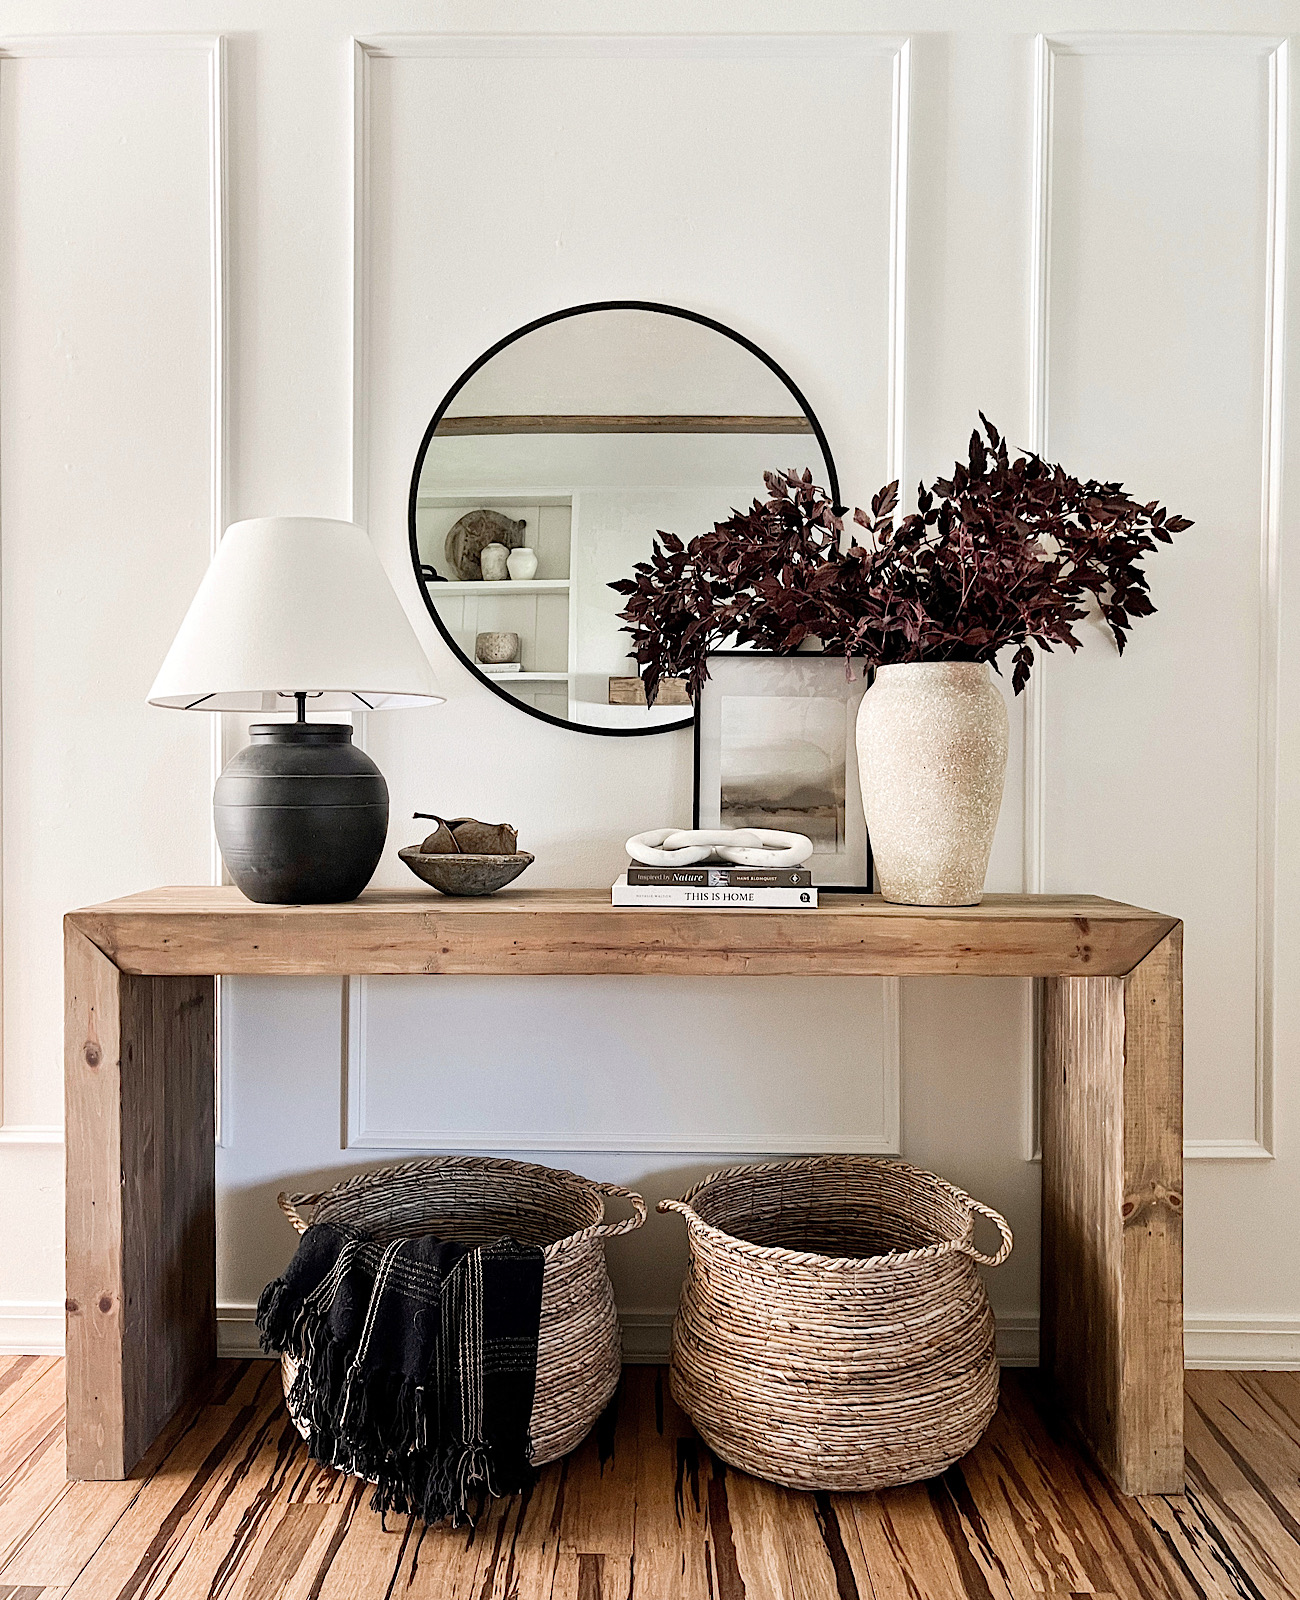
I knew going into this project I had my console table and mirror I was putting on the wall. It’s pretty important with this wall treatment to have an idea of the space’s design beforehand. For example, if you have a bed, piece of art, mirror, etc. you need to account for those pieces when deciding box sizing.

I took the entire width of the wall and found the center. My center box is 36″ to account for space for my mirror. Then, took the remainder of the wall’s width and divided it. After that I simply held up one piece of trim next to the center box and decided based on that. Another idea is to use painter’s tape to tape it out on the wall and get an accurate sizing.
Overall I think 6’8″ between boxes looks best but it depends on the style you choose. There’s so many options and a quick Pinterest search will pull up so many ideas. Whether you do rectangular boxes with smaller boxes underneath. Or like I did large nearly 3/4 wall rectangle boxes I think it looks amazing both ways.

MATERIALS
- PVC TRIM/WOOD MOULDING-
I used 12 ft. x 1-1/8 in. x 11/16 in. Vinyl Base Cap Moulding from Home Depot - 18 GAUGE BRADNAILER + NAILS
- MITER SAW OR MITER SHEARS
- LEVEL
- PAINTABLE CAULK + PAINT
- WOOD FILLER
SHOP MATERIALS

A cordless nail gun and miter saw would be so quick and easy to use for this project. However, the saw isn’t necessary you can use miter shears which are less than $25 and make this project doable for anyone!
The PVC trim is really nice because it’s flexible, less expensive right now than wood moulding options, and makes cutting quick and easy with the shears or a saw. It’s also mold resistant if you plan to do this project in a high traffic space with moisture like a bathroom.
INSTALL
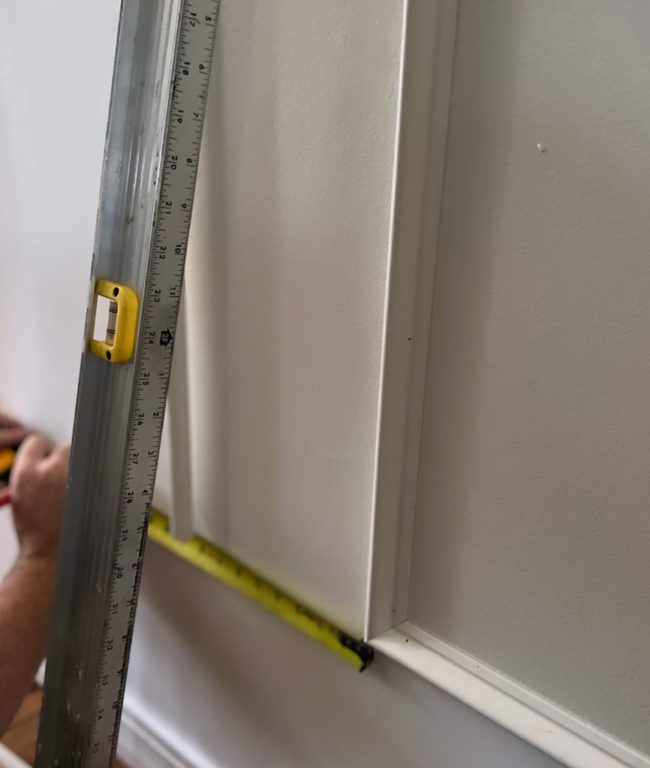
Measure and measure again! No wall is perfectly straight. Be sure to account for the 45 degree angle on each end! The angle makes for a tight nice corner joint.

We put one nail in to hold the trim and then took the level beside to keep it straight, and finished nailing evenly spaced down. You don’t need a ton of nails because it’s so thin and lightweight but enough to make it hold.

Keep using the level because the PVC is super flexible – don’t want to overbend it.
Using finish nailer, nail up all pieces creating the boxes. Use nail filler for the holes, and caulk all seams. Inner and outer edges. Then, paint!


I love how this moulding feels very timeless and classic yet with the style of boxes it lends a modern look! I chose this over other wall treatment options because I really wanted this space to feel larger, more grand for an entrance to the home. One way of making the eye look UP, thus making the space feel bigger is using a vertical treatment. Just look at the before and after…
BEFORE

AFTER

It’s incredible! What do you think? Click any photo above to save to Pinterest to refer back to for later!
SHOP MY ENTRY