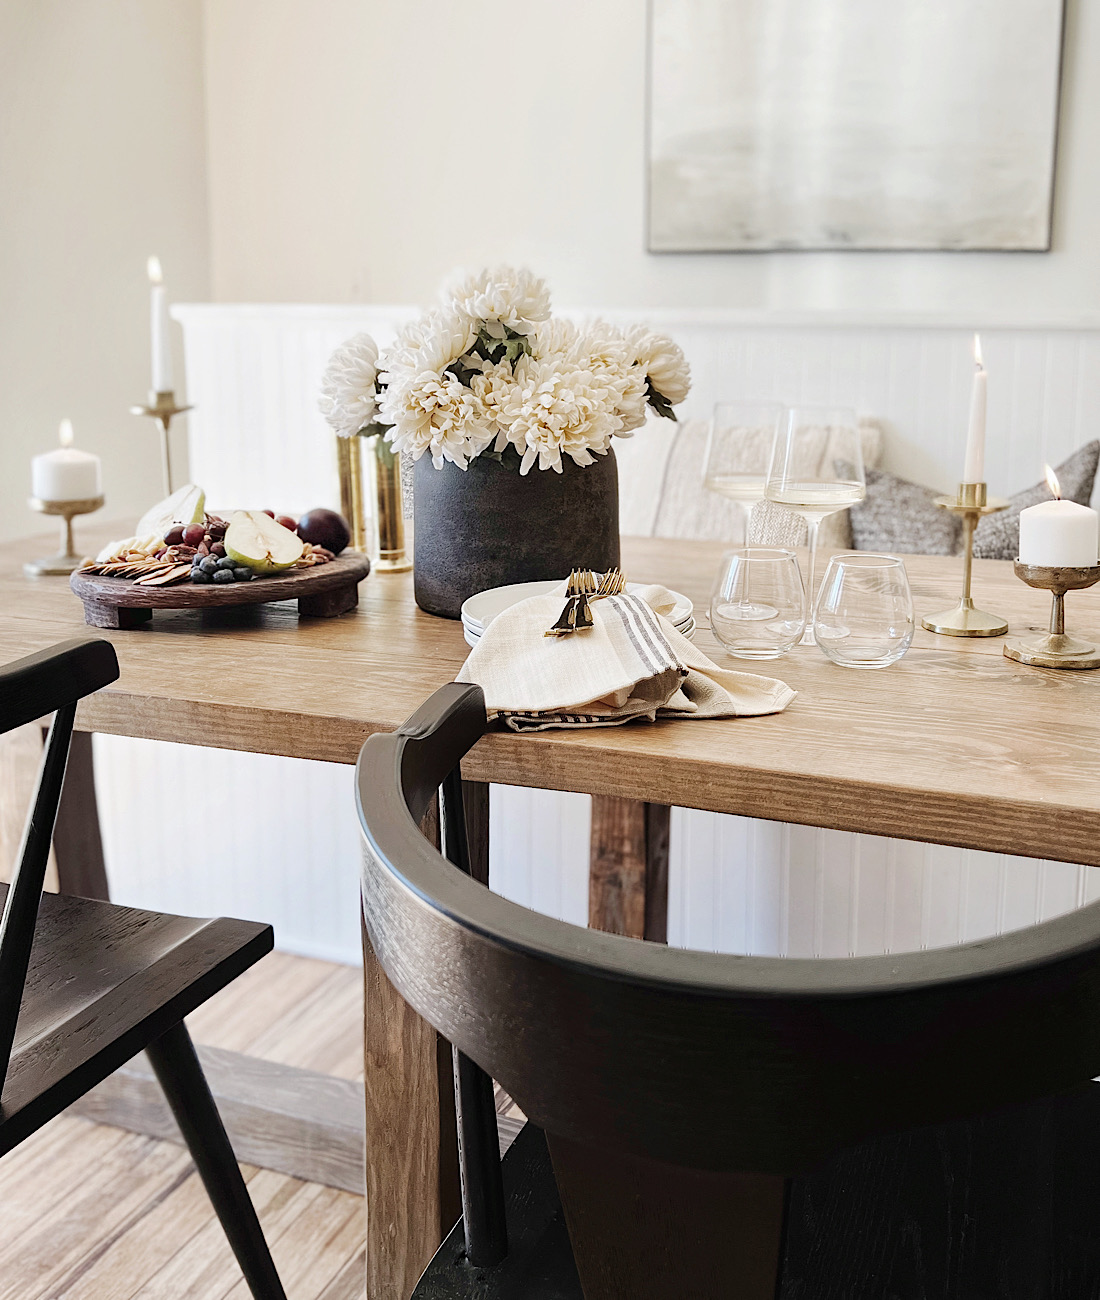
While planning our kitchen renovation (read more and see reveal here)this spring I knew there were a few updated we needed to make to the breakfast nook. One being a larger dining table.


I love RH, especially their dining tables. So much character, so unique, the designs are gorgeous, but often come with a steep price tag. We opted to DIY just like we have a few other tables. This one I fell in love with the chunky beam base, the reclaimed wood, how rustic and beautiful it looked with a nice clean rounded corner oval top. I knew we could make it for much less.
We refaced the breakfast nook bench with beadboard and I love how it gave it so much more character, see more here. Coupled with our new black dining chairs and I think this is the perfect combo of modern and traditional. The charm of the beadboard, the rustic beam base of the table, with the modern black chairs. It all plays perfectly together and I’m so happy with the outcome.

Here’s a rundown of how we crafted this great look for less oval beam dining table-
We made our table 6′ long so we used 12 foot 2×10 boards for the tabletop, giving us 4 pieces out of 2 boards. It is cheaper this way and produces less scrap wood.
TABLETOP

-Use a planer to cut off rounded edges of 2×10 boards
-Cut 4 boards to 72″ long
-Line up boards so edges are flush against each other & clamp
-Once have a good fit add wood glue between each board & re-clamp
-Use kreg jig to drill boards together underneath
Flip boards over and attach a Strong-Tie 24 inch 20 gauge Galvanized Steel Foundation Strap Wood To Wood – attach on bottom side of tabletop.

Use a protractor to make ends fit desired size. We made our 6′ table an oval so just the ends needed rounded. Then, sand and sand! Start with 60 grit and move up to finer grit for a better finish.


BASE

-Cut 4 4×4 boards to 28 1/4″ – legs
-Cut 1 4×4 board to 60″ – long base
-Cut 1 4×4 board to 23″ – middle cross base
On each end of the long base (60″ board), while using scrap 4×4 piece mark the width of the 4×4 on each end. Measure 1.5″ (4x4s are actually 3.5″) on the ends then cut the 3.5″x1.5″ off the ends. This insets the table legs into the main base board.

Repeat for the middle cross base board (23″ board).

On a flat level surface, using 90-degree angle place the legs into the cuts on the base board. Once legs are 90-degrees and flush, using 3.5″ screws attach using a kreg jig. Fill holes with wood glue and saw dust to hide holes, and sand smooth.


ASSEMBLING
Once base is put together add the tabletop. Attach the top using kreg jig and drill at 45-degree angle from underneath.
Fill holes with a little wood glue mixed with saw dust, then sand smooth, and finish as desired. I recommend several layers of Minwax Polycrilic in clear matte. This provides a great finish that doesn’t have a sheen or makes the finish yellow over time!

I stained the table using my custom mix stain find, here. I also added a little Varathane Western Oak because I can’t find Flagstone anymore. It has a little more brown and less gray than Weathered Oak. I used Provincial + Western Oak and watered it down. The base came out darker than the top and that happens using different types of wood. I actually really like the tones now. It looks beautiful and aged really well.

If you want the look of the RH table I’d recommend using my aging wood technique to get a more reclaimed wood vibe from new wood. Find that HERE.


