
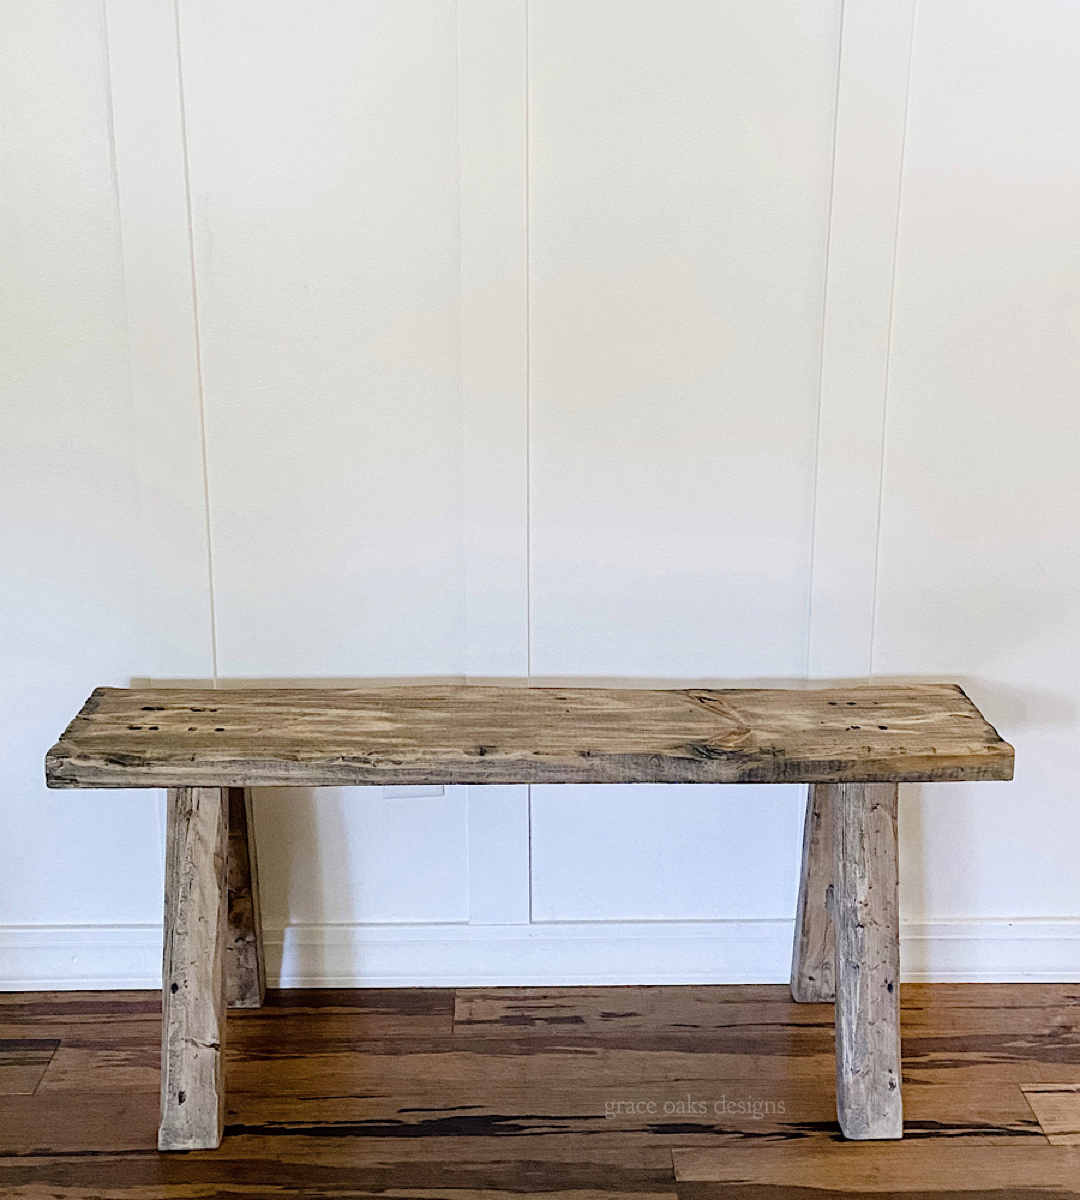
I’ve wanted to recreate an antique Chinese wood bench since I made my coffee table, and I finally found the perfect little spot to add one. It was very simple and gave me the same look for less!

I wanted a narrower bench seat to recreate the look, but you could use any width you prefer. I used a 2×10. The legs are made up of 2x4s with 2×2 braces.
We have an area in our entryway that fits a small bench perfectly. This could be recreated any size just like our coffee table. The bench is 48” long.
To start, cut the 2×10 to desired length, or 48 inches.
Then to make the legs, cut four 2x4s at 16” with 10-degree parallel cuts on each end.
Next, cut two 2x2s at 5 ¾” with 10 degree perpendicular 6” from bottom.

ASSEMBLING THE BENCH
4 ½” from end of the bench top, 1” from sides take two 2×4 legs flush and use 3 ½” screws drill from the top into each 2×4 leg.
Next, using the 2×2 braces, predrilled holes then used 3 ½” screws drilling from the outside in.


Alternately, if you wanted to hide screws you could use kreg jig for pocket holes. Or drill at an angle hiding the holes more. Since this bench is supposed to look aged, I didn’t mind this quick approach exposing the screws.

Finally, it’s time to age the wood. I did the same technique as I had on our coffee table using nails, screws, screwdriver and hammer, chain link, wire brush drill attachment, jigsaw, and planer or hand saw.

I always start by roughing up the edges, sides, and legs using a hand saw or planer. You want uneven edges, so it does not look like brand new boards. Then, I use nails, screws, and chain link with a hammer to create divots into the wood all over. Next, use the jigsaw moving slowly up and down along the edges. I use this all along the top edges and again all over the edges on the legs. Lastly, take the wire brush attachment and go along the top and a few areas on legs or sides. All of these indentations create the most perfectly aged wood look. The stain then seeps into these areas and really enhances the aged effect. To take it a step further you can add dark wax or a tiny bit of black chalk/acrylic paint on an old rag and rub it into those divots to create even more dimension.


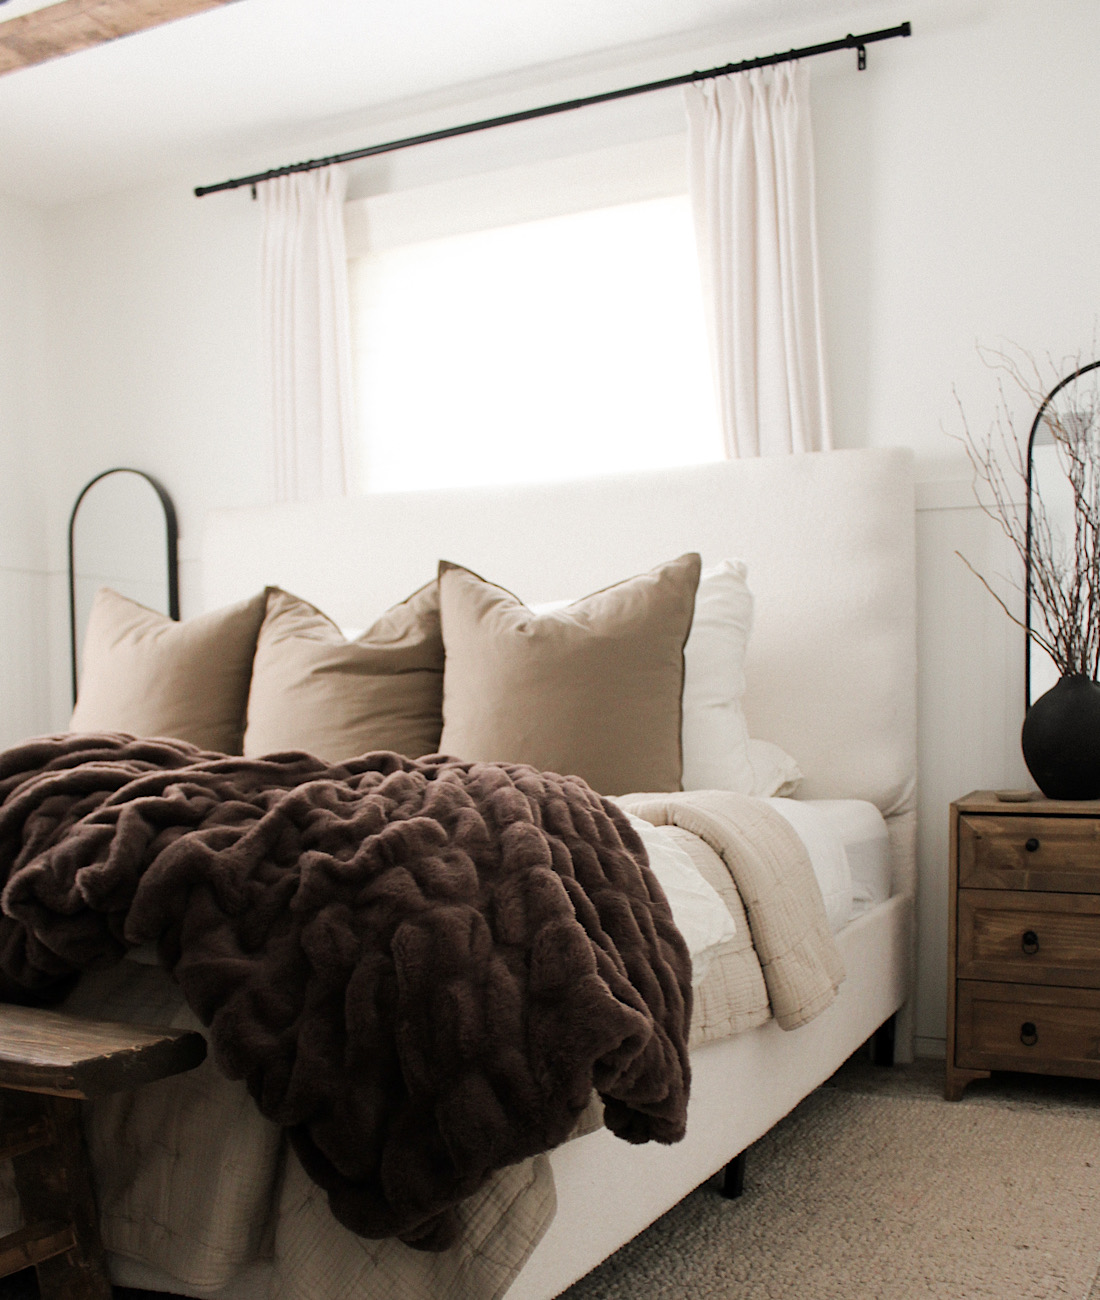
Perfect little bench! Next up a larger one for the foot of the bed in my bedroom! They’re great everywhere. If you make one share on IG I’d love to share your bench in stories.


Hi, what stain/paint combo did you use? I love it
Hi! I used my custom stain color you can find how I make that here- https://graceoaksdesigns.com/custom-mix-stain-at-home/ It’s a gorgeous finish and super easy!
Hi! New to your page and love it! Have lots to catch on. I would love to recreate this bench- what kind of wood did you use? Thank you in advance
Hi! I’m so glad you’re here! For this I used select pine. Whatever wood you prefer will work just fine but the more knots and character the wood has that you can accentuate the better for this look!
I am obsessed with this bench! I would love to recreate it to go with my kitchen table. I am painting my kitchen cabinets now so maybe once that project is finished. Thanks so much for the inspo!
Wonderful information and beautiful bench! Thank you so much.