
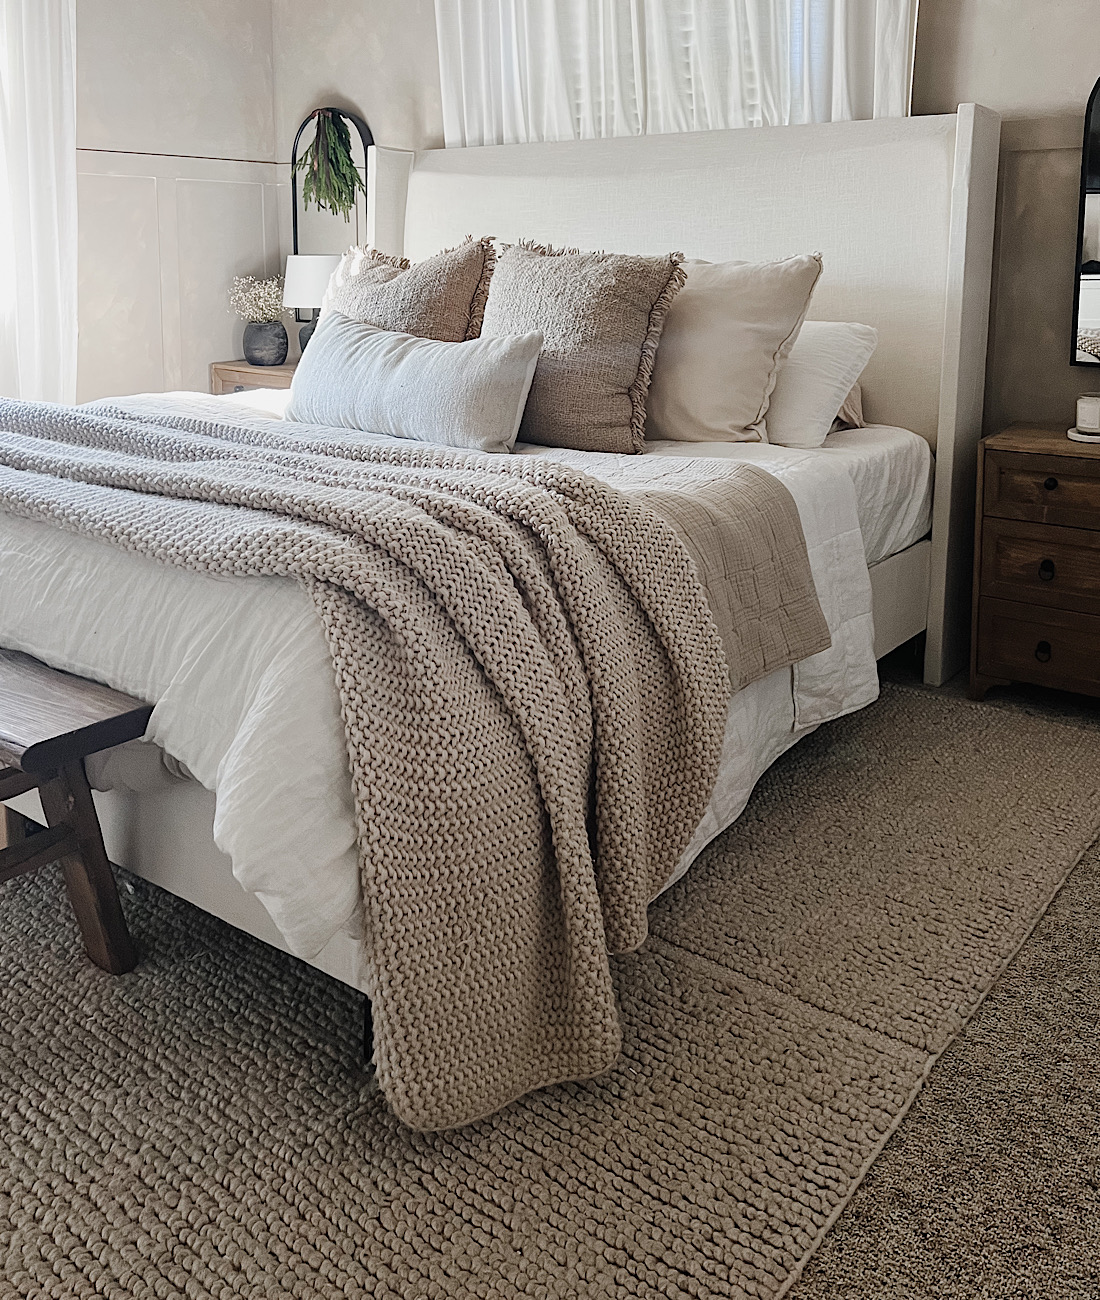
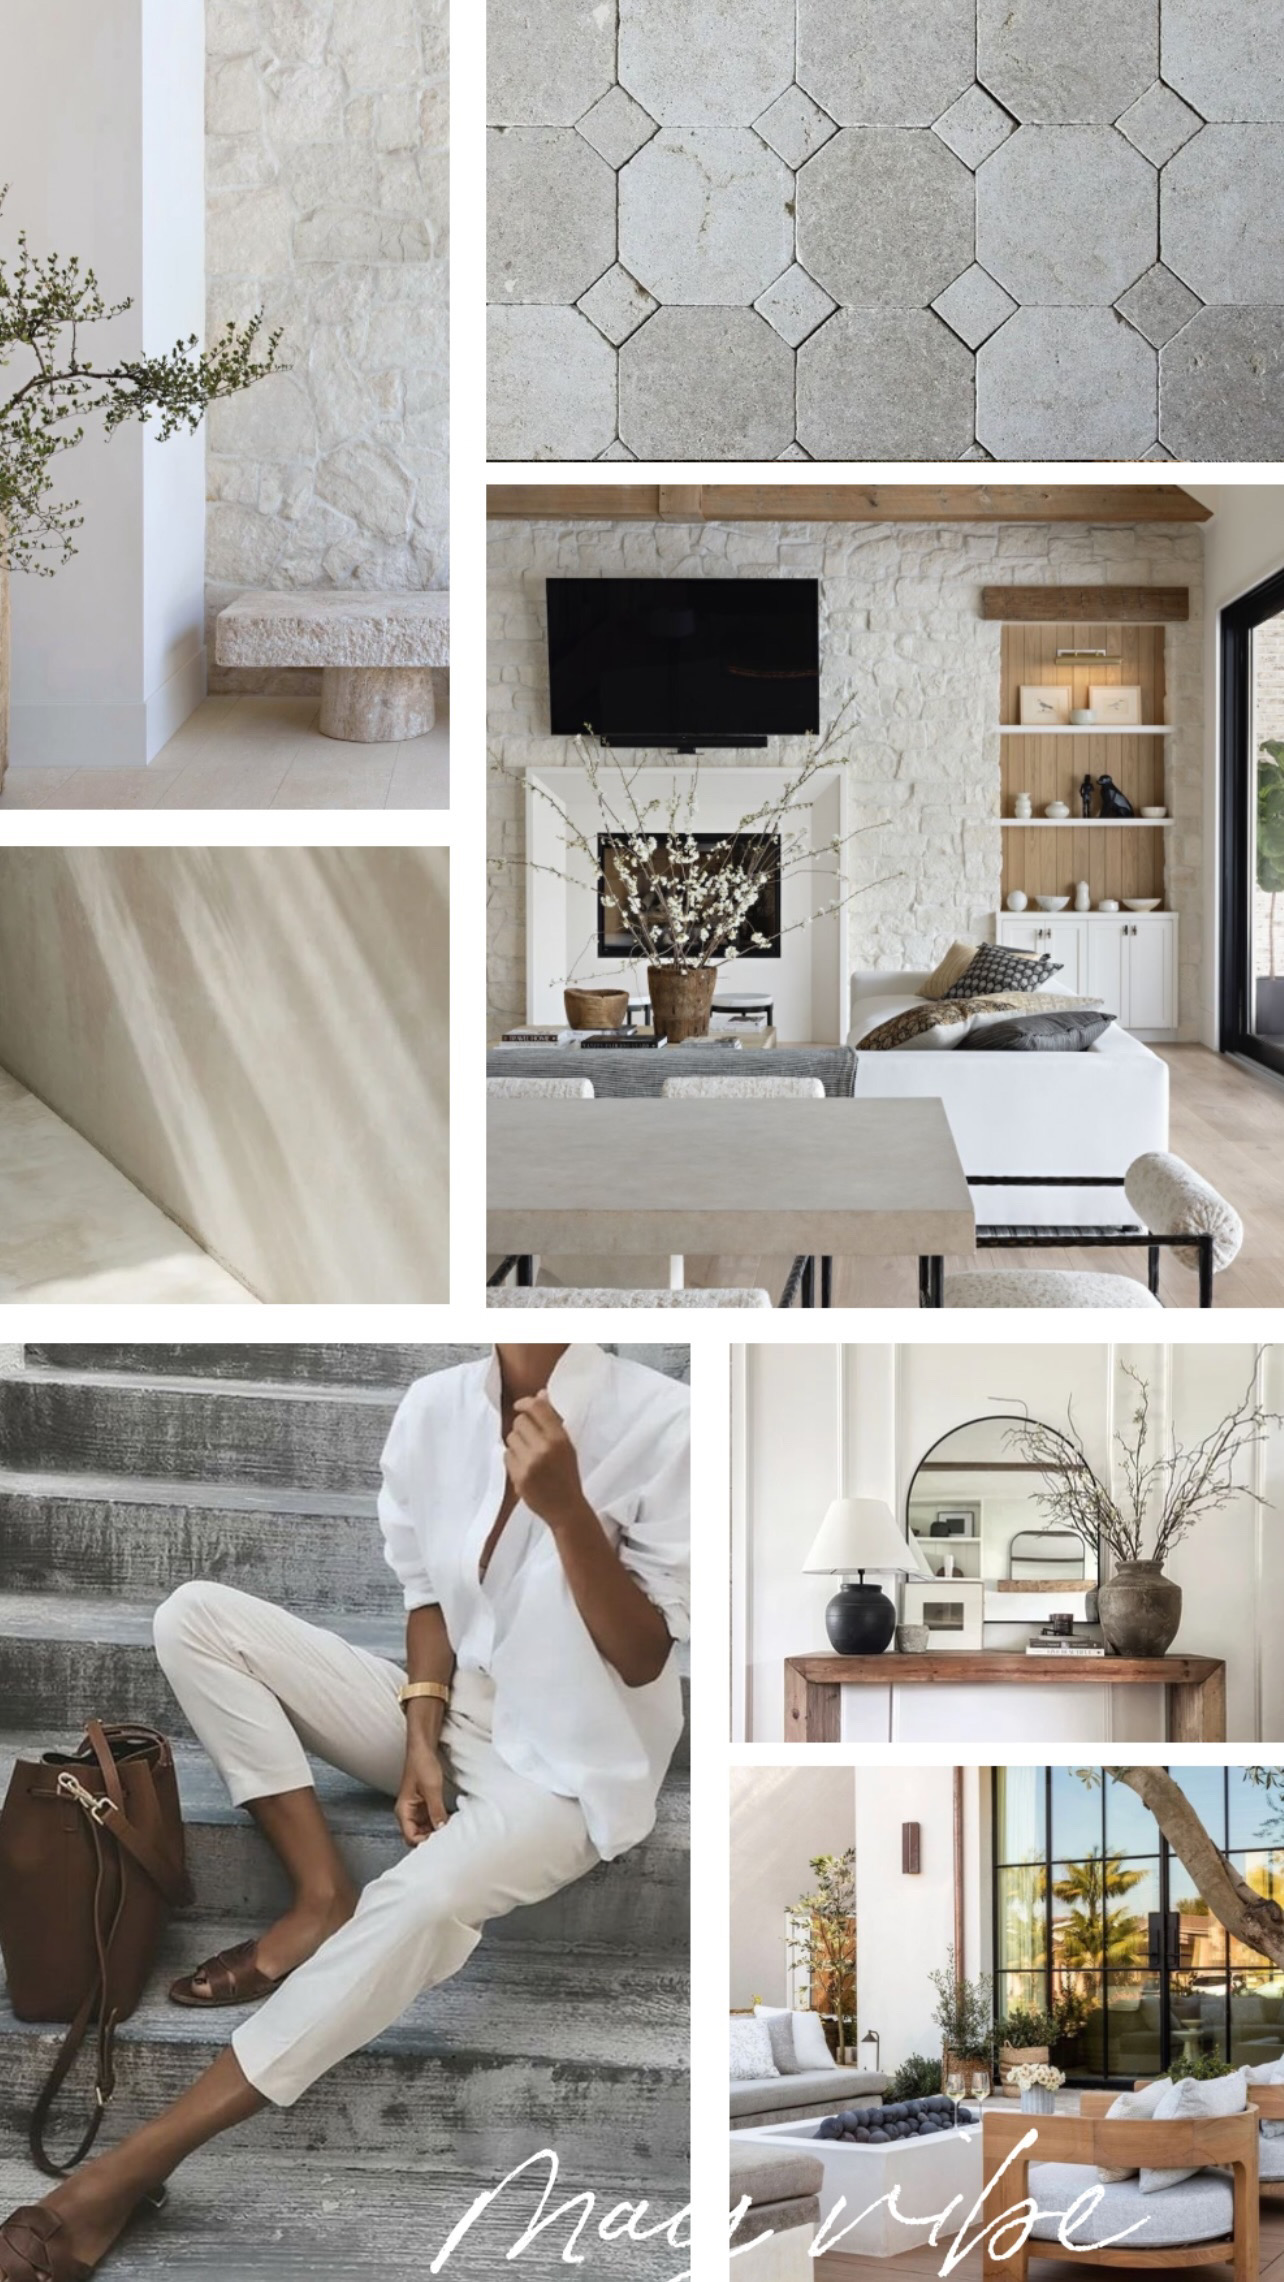
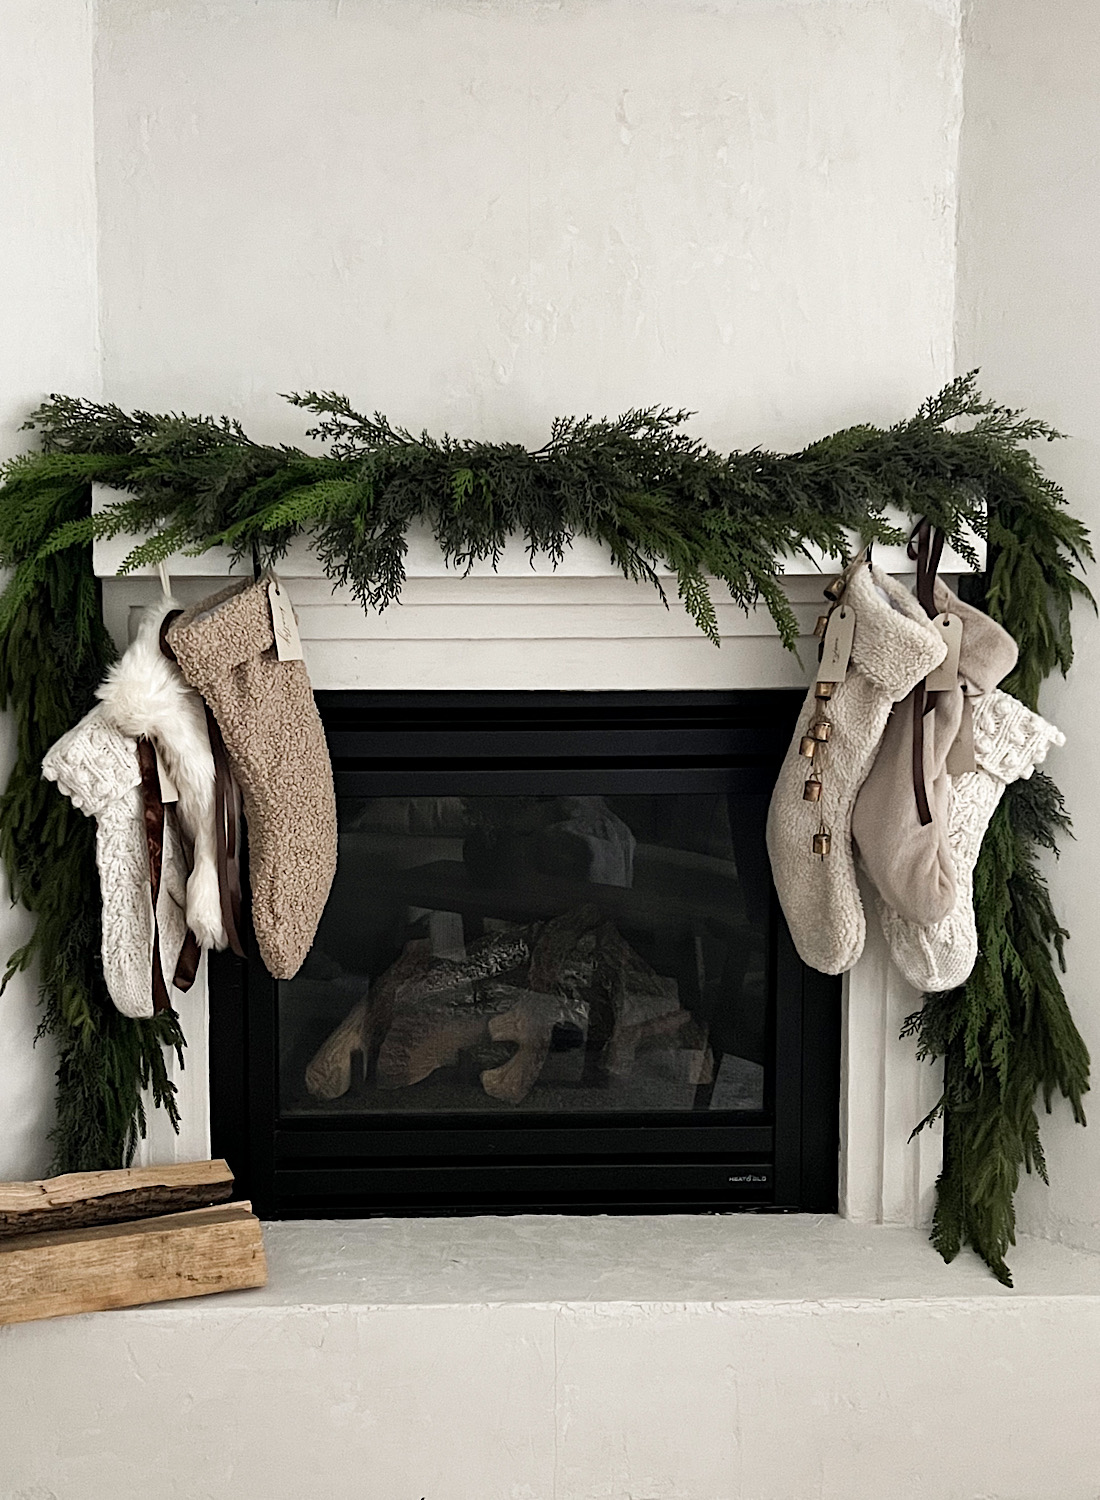
I love organic and natural materials, all that earthy worn texture. With our recent DIY plaster fireplace project I knew I wanted to take it a step further. I decided to not only limewash my bedroom walls but DIY my own limewash paint. I wasn’t sure how well I’d like this technique on a larger surface area like an entire bedroom. I mean I love love love it looking at photos, but living in it I wasn’t so sure, and if you’ve looked into limewash paint you know it’s pretty expensive.

After my fireplace project last month – DIY Plaster I knew we could use that same technique to DIY limewash paint as well. I added plaster of paris to my paint with a little water to thin it, and created the limewash consistency and texture. Application is similar to roman clay or plaster except the method is done using a block brush or masonry brush.
SUPPLIES
-plaster of paris
-paint color of choice in flat/matte finish
-block/masonry brush
-roller/brush for trim, ceiling, doors if you choose
-bucket/deep paint tray for paint mixture

PAINT MIXTURE
Combine 1/2 gallon of paint with 3 cups of plaster of paris and 1 cup of water. Mix well. Pancake batter consistency is what you want for limewash similar to roman clay and plaster. Just slightly thicker than paint.

The same technique is used creating x’s and curved s movements with the brush. You need very little paint to start. Dip brush 1/4 way into paint, essentially dry brushing the wall. The first coat is more about getting the paint on the wall. The second coat you can go in and do more movements with the strokes to achieve the cloudiness look you see with limewash.


TIPS/ADDITIONAL INFO
-Darker colors will require more coats, I did 3.
-Darker colors also work better if the first coat is done a couple shades lighter than desired finish color.
-Lighter colors can go right over white walls easily, most only need 2 coats.
-Once finished trim and ceiling looks better done in the same color. I used my regular paint color (not the limewash mixture) to paint my trim, doors, and ceiling. It looks so beautiful all the same tone.
-It works well over millwork.
-Cutting in and doing edging I did the same as with a regular paint and brush, then feathered it out continuing my cross strokes.


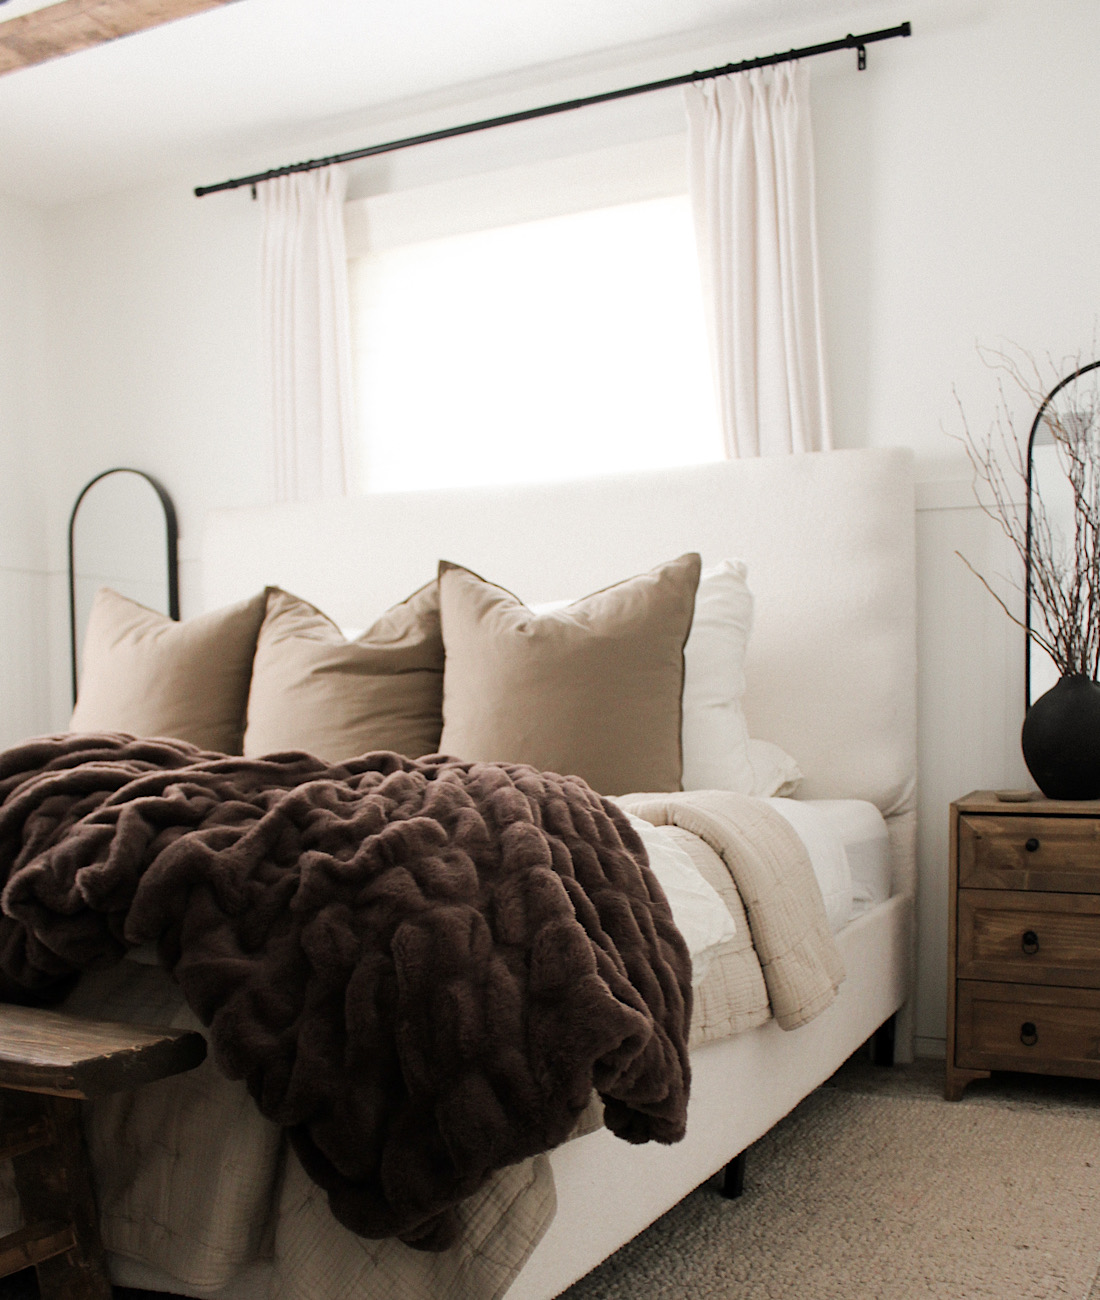
I really wanted to try this limewash method because I thought it would be quicker than the spackle knife and roman clay/plaster, but it was about the same. The block brush and limewash paint goes quicker but needs more coats. I love the cloudiness variation you see with limewash, but there’s no texture to the actual paint/wall. I think it looks best with a lighter color. Overall I like the texture and variation you see on my plaster fireplace more.
If I did it again I’d probably choose my plaster technique, using the spackle knife. It’s the same process- materials and method used only done with a spackle knife and created a little more texture. Also, I’d choose a lighter tone. Or be sure to use a similar tone to the finished color if darker first (for example, choose a color two shades lighter on the paint swatch) This creates more subtle dimension. Whereas, my white walls are showing through in some spots, more touch ups created even darker patches I didn’t love.

This method works great, so if you’re interested in trying limewash and want to DIY it without spending more this is the way to do it! Portola Paints and Color Atelier are great brands if you want a ready prepared limewash paint. Color is Behr Rustic Taupe. Don’t forget to test your paint- this is so important. I loved the color sample and in bright natural light, but it’s very dark from what I’m used to. I may go over it in a lighter greige tone like Benjamin Moore Revere Pewter soon!

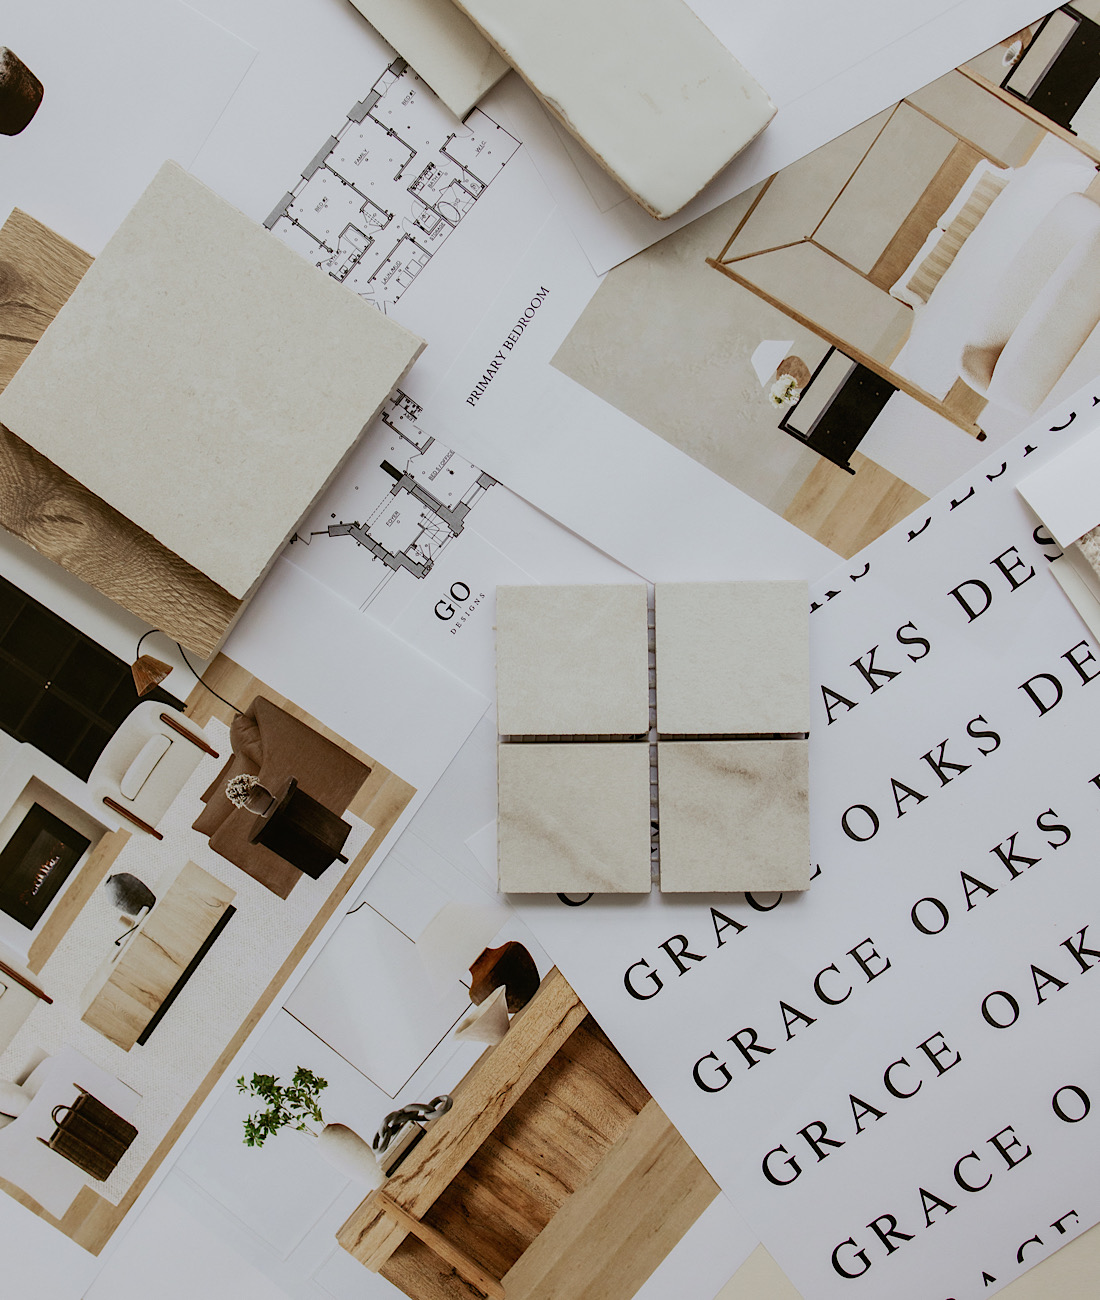
If you give this a try I’d love to see your space. Send a photo or tag me on IG- @graceoaksdesigns. I love to share and feature your projects we’ve inspired you to try!


Hi!
So what does the wall feel like after? I love the look, but I just spent so much time drywalling that I’m having a tough time thinking Int about adding something with plaster in it to the new walls!
Thanks!
limewash effect* gypsum (plaster of paris) isn’t lime. cool diy but should be clearer in the title