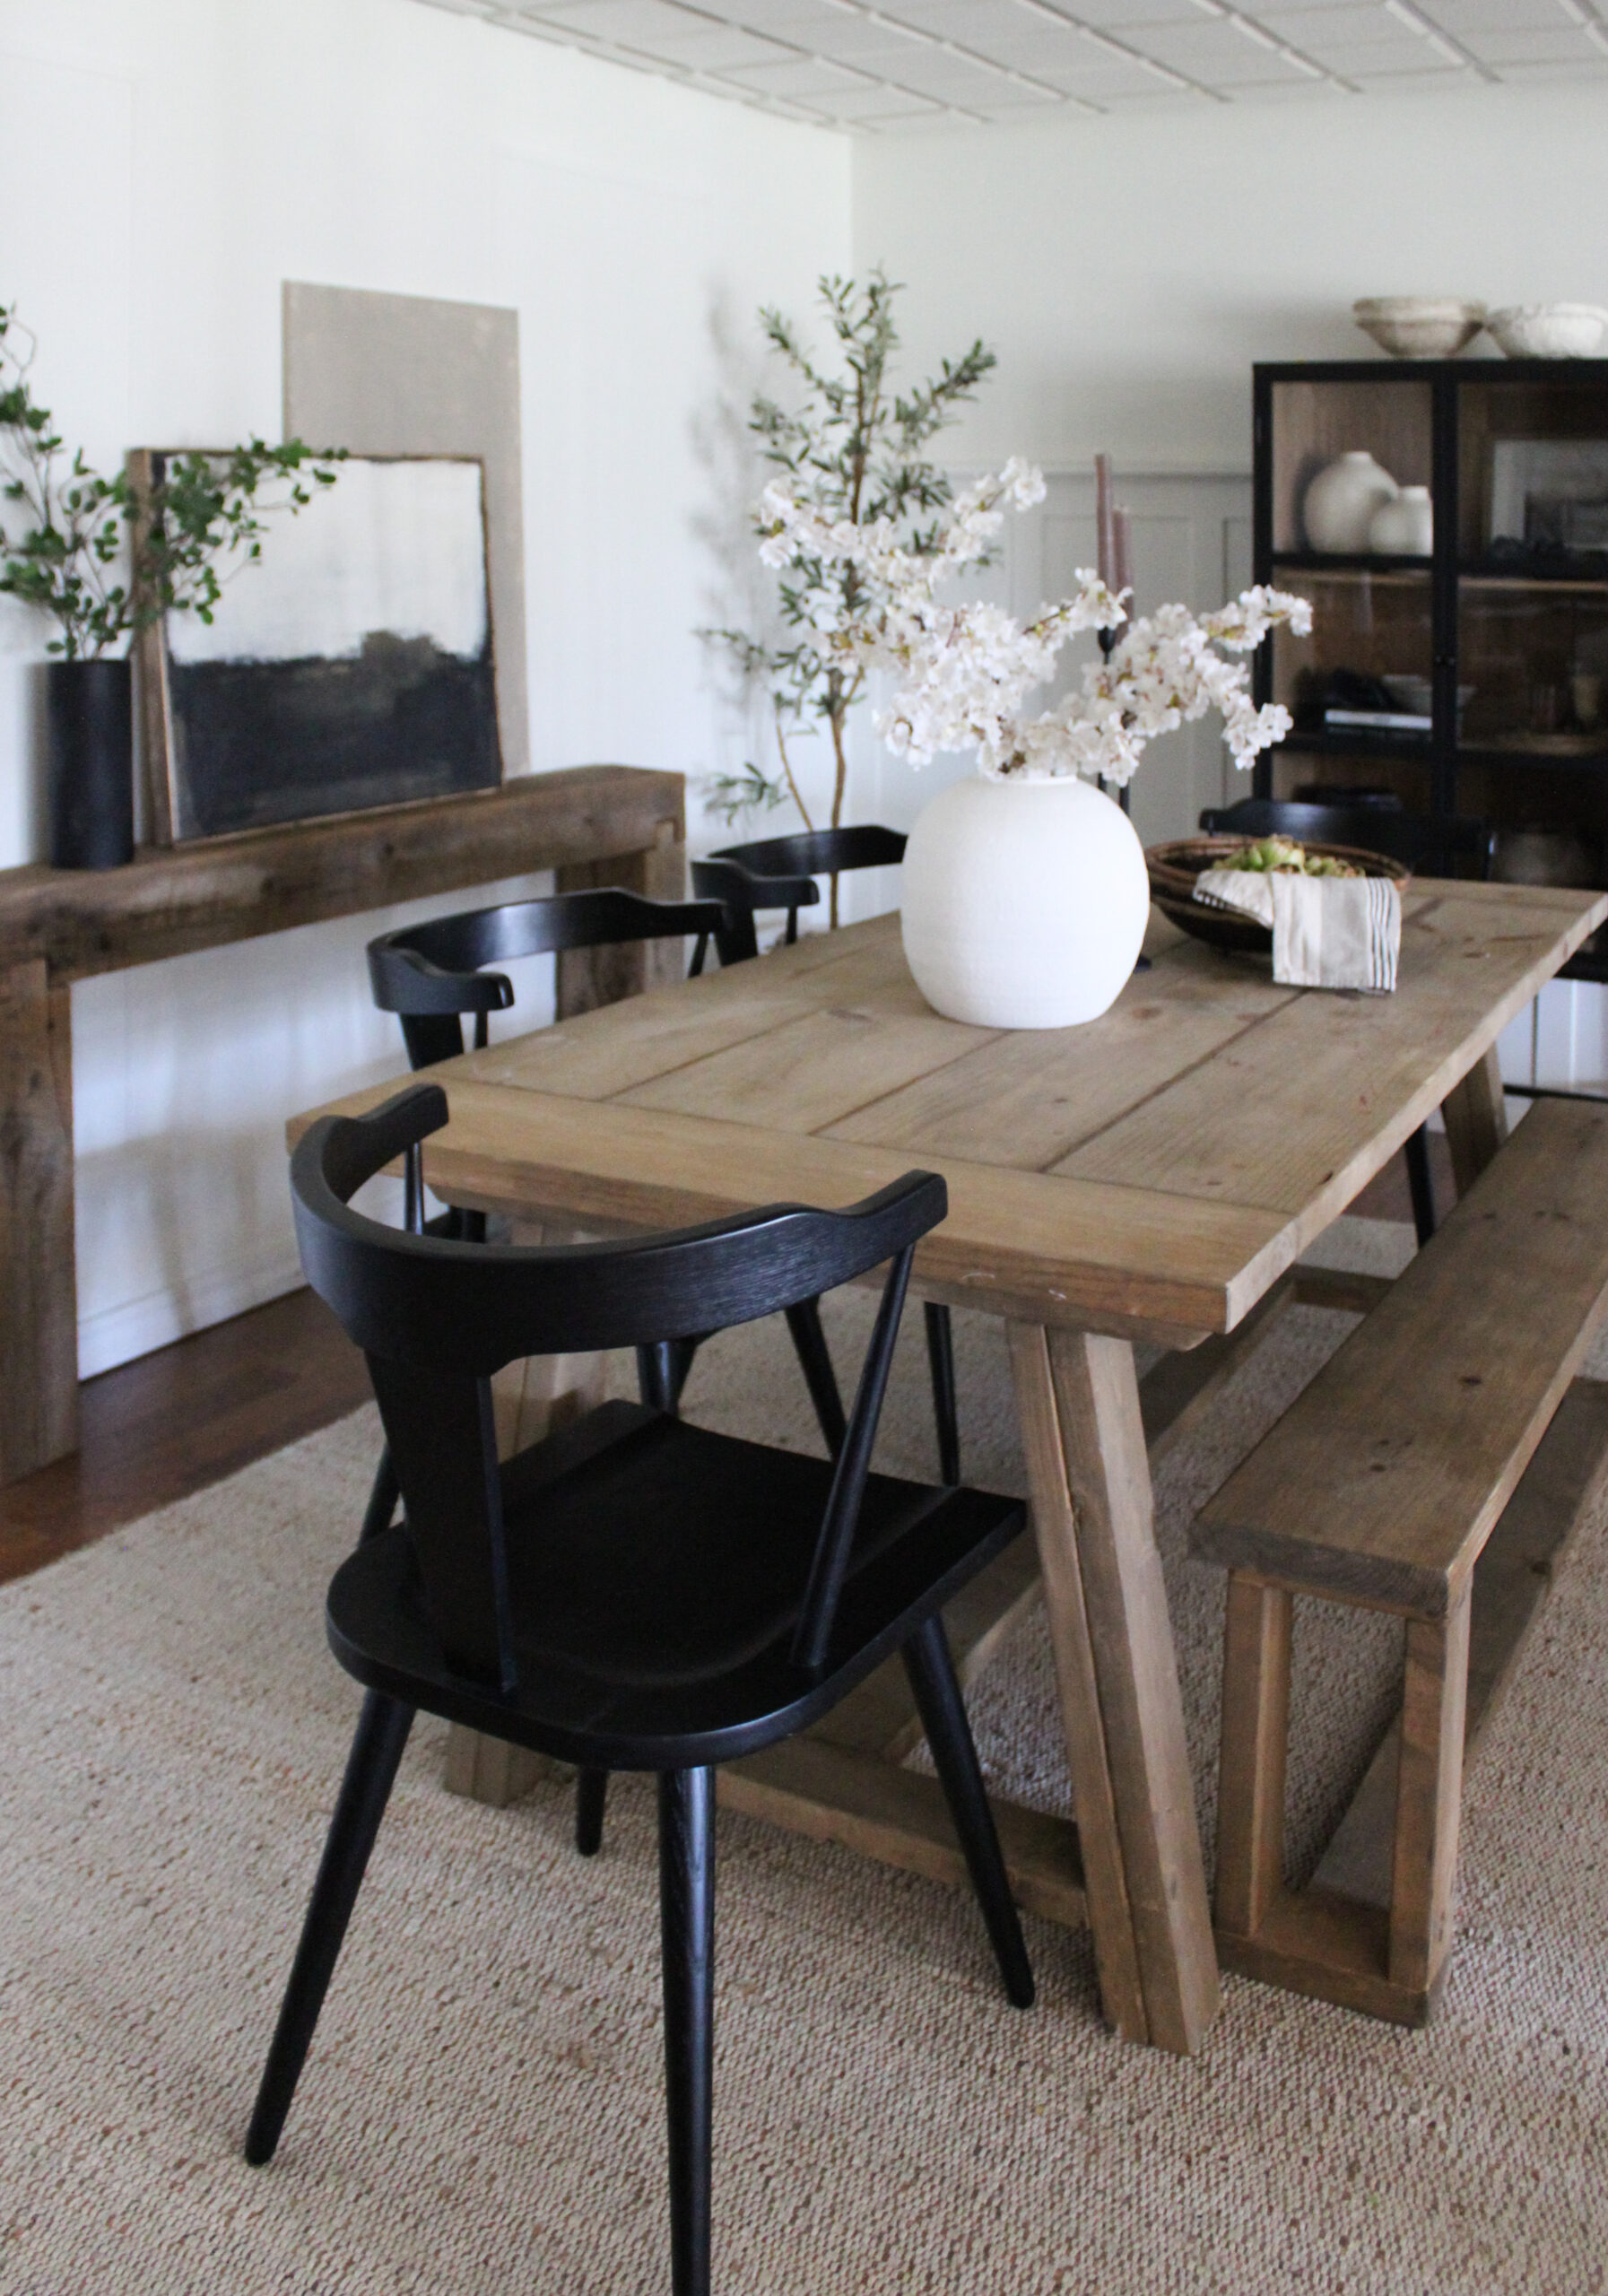
We scored a gorgeous old beam from a friend’s barn and I had the perfect project in mind for it. My favorite way to incorporate warmth and character is with chunky reclaimed wood. It adds the most amazing touch to any space.

GET THE LOOK
I love these chunky wood beam style consoles, and have the perfect spot in our dining room for it! Arhaus and Wayfair even has a less pricey option but both are well over $1,000 and we were able to make it for so much less! If you happen to find a beautiful beam to repurpose save this project to try out!
DIY BEAM CONSOLE TABLE
We first cut the beam to our desired length, we made our console 72″ long and 30″ high. Cut the top piece and two legs.
On each leg cut down 2 inches to create the notches and chisel it out, leaving the center still intact.


The top piece cut 2 inches deep and 3 inches wide to fit the legs interlocking. Make several cuts and chisel out like the leg pieces. Repeat for the other side.


The legs should fit perfectly into the top piece of the table. To secure them together we drilled 3 inch screws from the legs into the top on the underside of the table.

The process was pretty straightforward and could be adjusted to fit any size. Be sure to use dried wood, sand and finish as desired. Then, add Minwax Polycrilic in clear matte to seal it. Our beam sanded beautifully so I didn’t need any stain. I do use Polycrilic for a protectant, the clear matte doesn’t add any sheen or yellow the finish.


SHOP BEAM CONSOLE TABLES
If you make our DIY beam console I’d love to see and share your project, tag me on IG or send a photo! I love showcasing your projects we inspired!


