
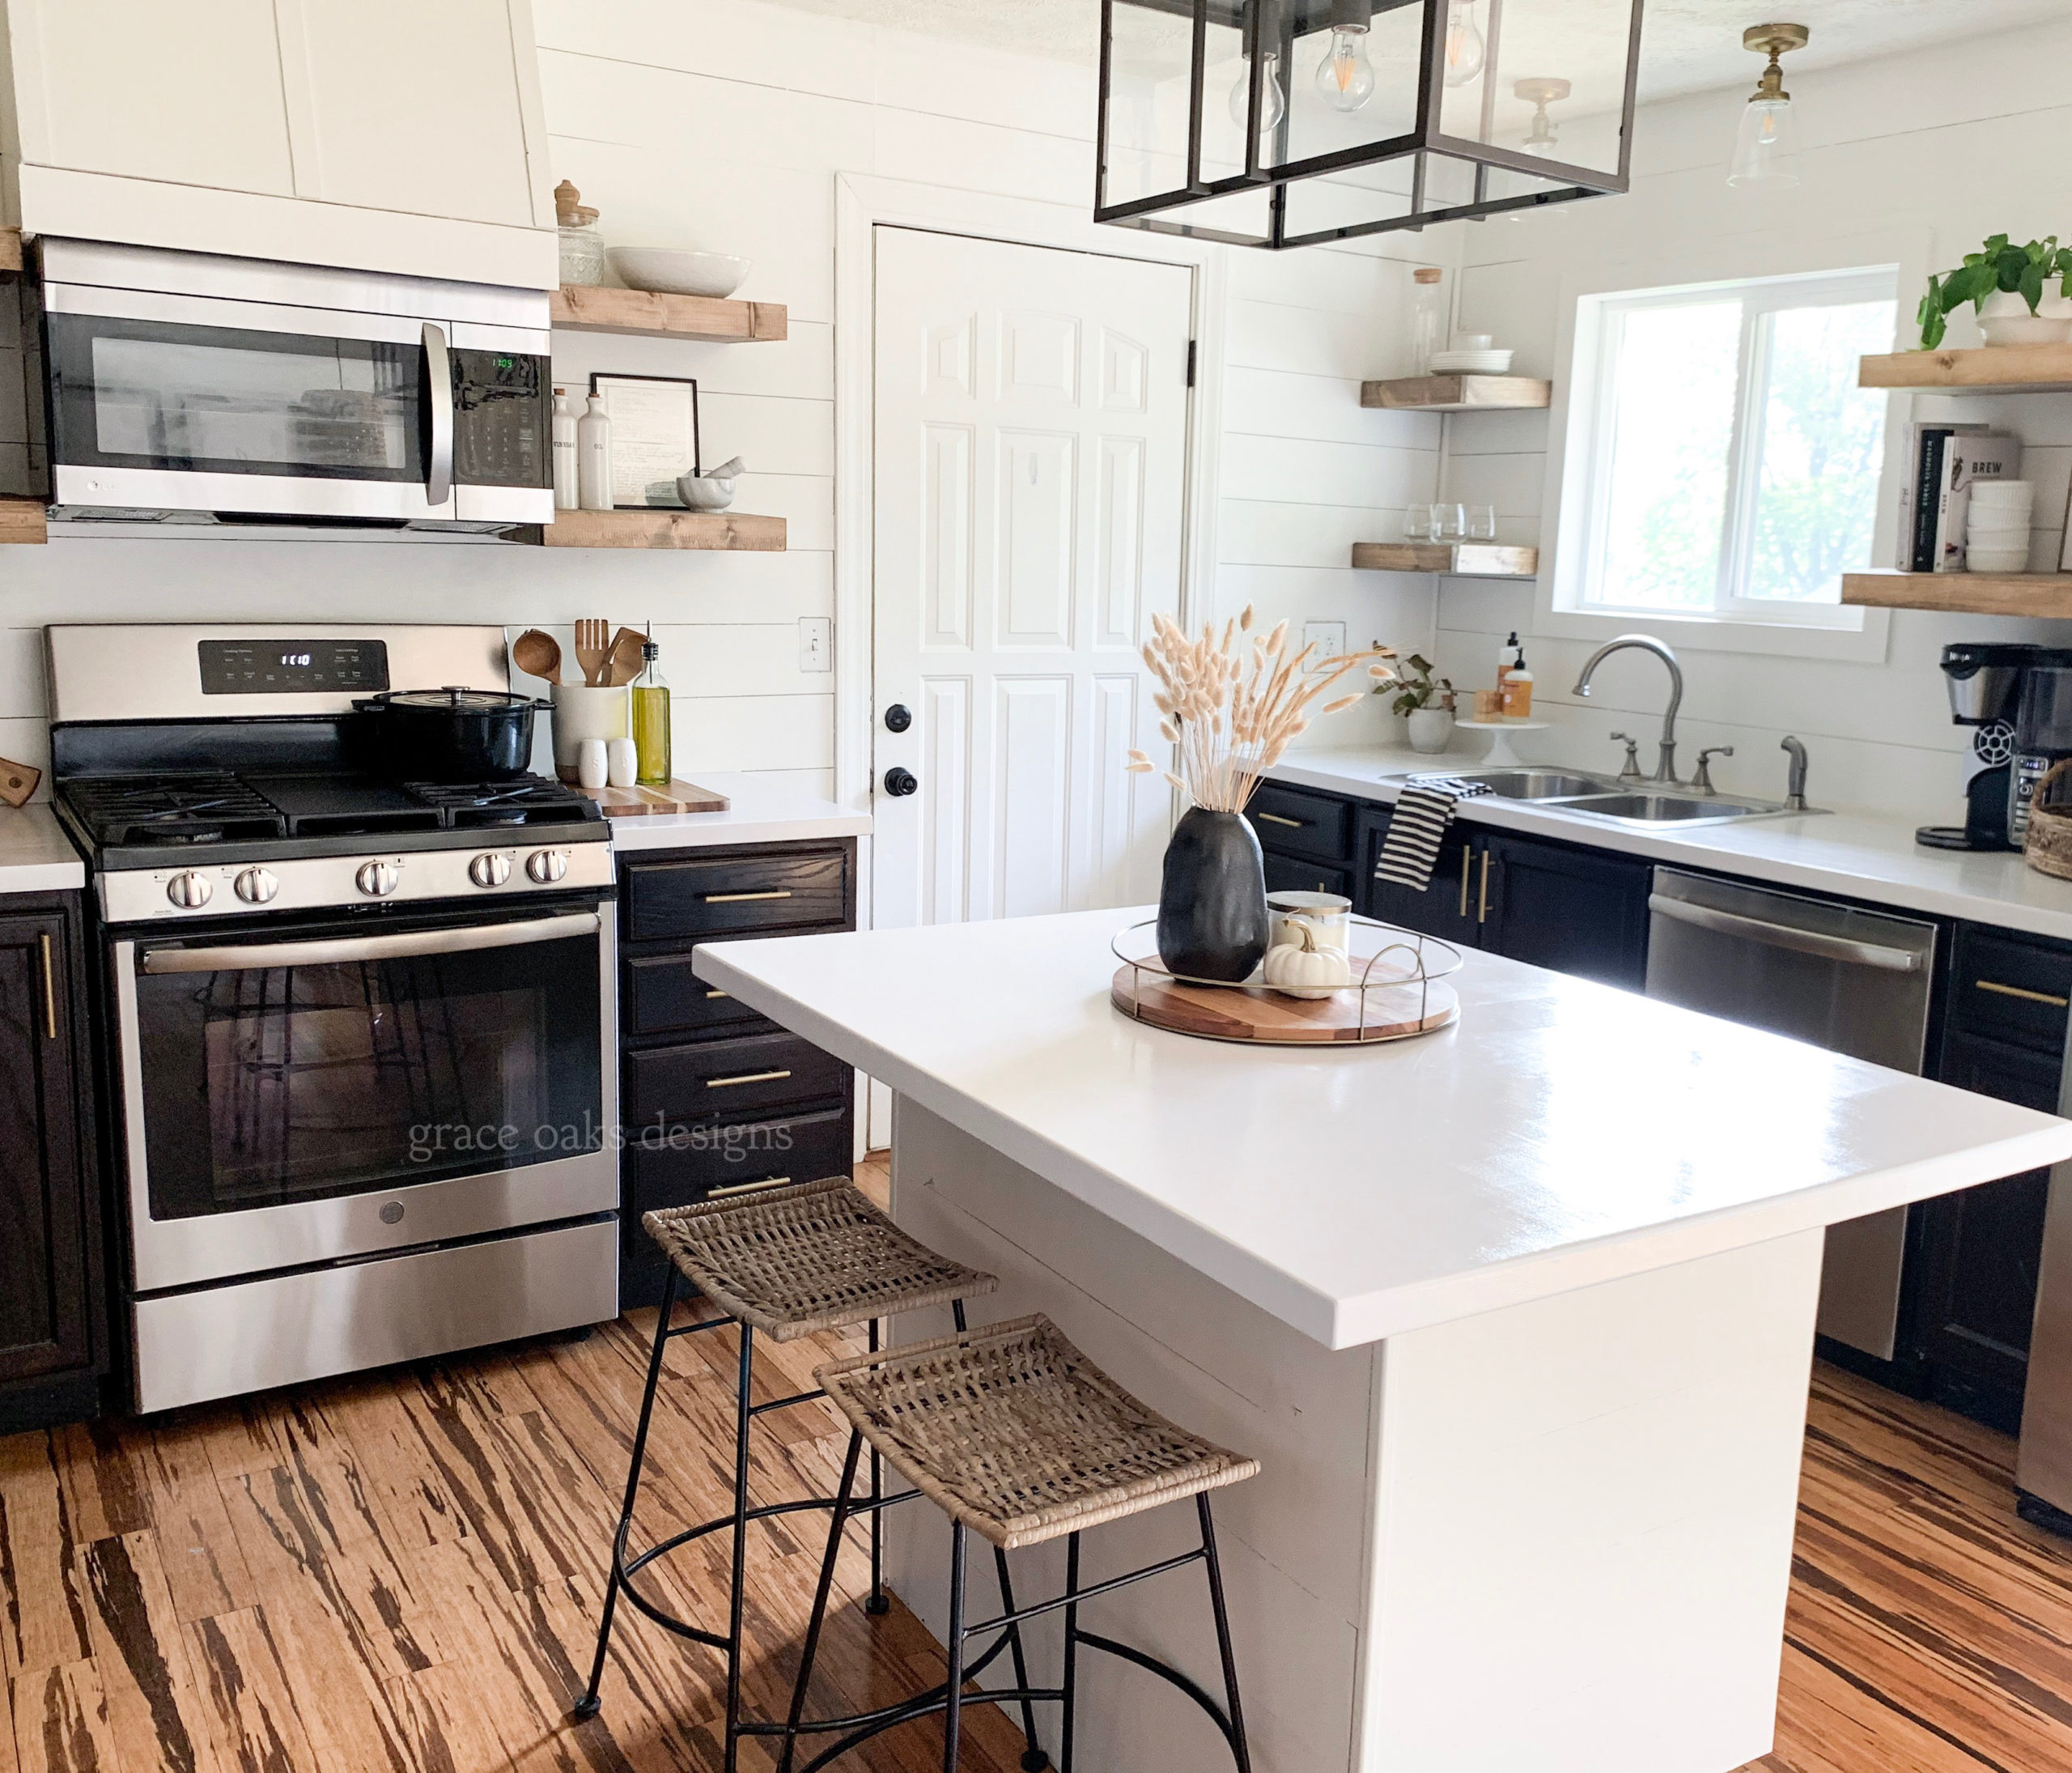
I LOVE quartz countertops, for good reason, it’s durable and there are so many styles to choose from, much like marble or any other stone counterpart. Besides the durability I really like the near solid bright glossy white you can get with quartz just not the hefty price tag that stone carries.
When we began our kitchen refresh, I had plans to use a different product on our counters luckily after more digging I found that more times than not most consumers were saying after time it began yellowing. That was my BIGGEST concern with doing anything to our butcherblock, I wanted zero yellowing and a solid bright glossy white coverage to resemble a quality quartz as closely as possible.
I’m BEYOND THRILLED to report I found the perfect product that does just that! I did my entire kitchen and island for $16.

MATERIALS
–Rust-Oleum Appliance Epoxy in Gloss White
-Foam rollers
-Foam sponge paint brush
-Paint tray
-Tape & plastic

INSTRUCTIONS
-Prep the area really well. This product is very sticky and strong it doesn’t come up.
-Stir the can well prep roller, be sure to have extra foam rollers on hand to switch up.
-Begin rolling in the direction of the grain if you have one on your counter. Continue around entire space.
-Make sure to roll on the underside of the counters (this is where plastic comes in handy, protect your cabinets and floors).
-I used the foam sponge brush around the back of the sink where the roller wouldn’t fit.
-Wait 1 hour and apply a second coat.
-I applied 4 coats over my butcherblock for even solid coverage.
After the last coat you’re done. Let dry and cure for 12 hours. I was so worried about messing them up I waited about 16 before I put anything on the counters, but they were dry at 12. They are solid, hard and smooth.

TIPS | HELPFUL INFO-
-After the second coat I switched out the roller for a new one. I kept seeing little bubbles come up and it was due to my roller being so densely packed with paint. A new foam roller after each coat if you have a ton of space isn’t a bad idea. I used three rollers total on my entire kitchen counters and island doing 4 coats.
-It is very strong smelling while you’re painting but having windows open and a fan running it dissipates as soon as you’re finished applying. The smell did not linger.
-If you ever get a nick or scratch, anything you can reapply for touch ups anytime!

-I’m not sure how the surface would hold up to heat. I’ve protected the counters with placemats and hot pads just like I did with the butcherblock before.
-It isn’t perfect. Since the surface I had before was butcher block there were some deep scratches/nicks that the epoxy didn’t magically hide, it covered it like paint would, but you can still feel and see that. But if you have a solid surface it will look so much more like quartz than mine turned out.
-The first couple coats you may see roller lines. It helps to change directions. The first coat I started rolling long ways following the grain of my butcherblock, then the next I did up and down. Changing it up each coat will eliminate those roller lines. Be sure to go back over and smooth it out with the roller after each swipe.
-I would say this is a temporary solution for quartz look alike counters. However, there is no reason it can’t be a long-term fix. For us, I just plan to reapply when or if needed until we either sell/move or have enough saved to have real quartz installed.
-After one month it has NO signs of wear and tear. There is no peeling, cracking, scratches, chipping, etc. And I love it just as much the day I did it if not more.-It wipes perfectly clean and is still so smooth and solid. I use dish soap and warm water for clean-up. This is the same for what I did on my butcherblock. I’m cautious using harsh chemicals.
-It wipes perfectly clean and is still so smooth and solid. I use Thieves cleaner or vinegar and water to clean.
-Year later review: I’ve only had a few small scratches, very small. I did a solid re-coat since we added a built-in coffee bar anyway and did that counter as well. However, it’s so easy to use a small foam brush to just touch up a little scuff if necessary. Still love it, still looks great. It’s a great affordable option!
I’ve mentioned may times during all of my refreshes how it is so important to not only love but enjoy our homes in the in between and now. Not when we finally have that huge renovation done. I can’t stress this enough! This is one of those projects! Do it now! Enjoy your space a little more now for simply $16 and a few hours of your time. One day when you fully renovate or replace the counters this inexpensive fix won’t be a big deal.

It is the simplest project and doesn’t take long at all to do. The transformation with $16 plus painting supplies if needed is CRAZY! I’m so glad I took this approach. If you tackle this project, I’d love to see yours. Send me a photo on IG or tag me! Also, be sure to pin this for later.


How are your painted countertops holding up after a year and a half? Are they easily scratched?