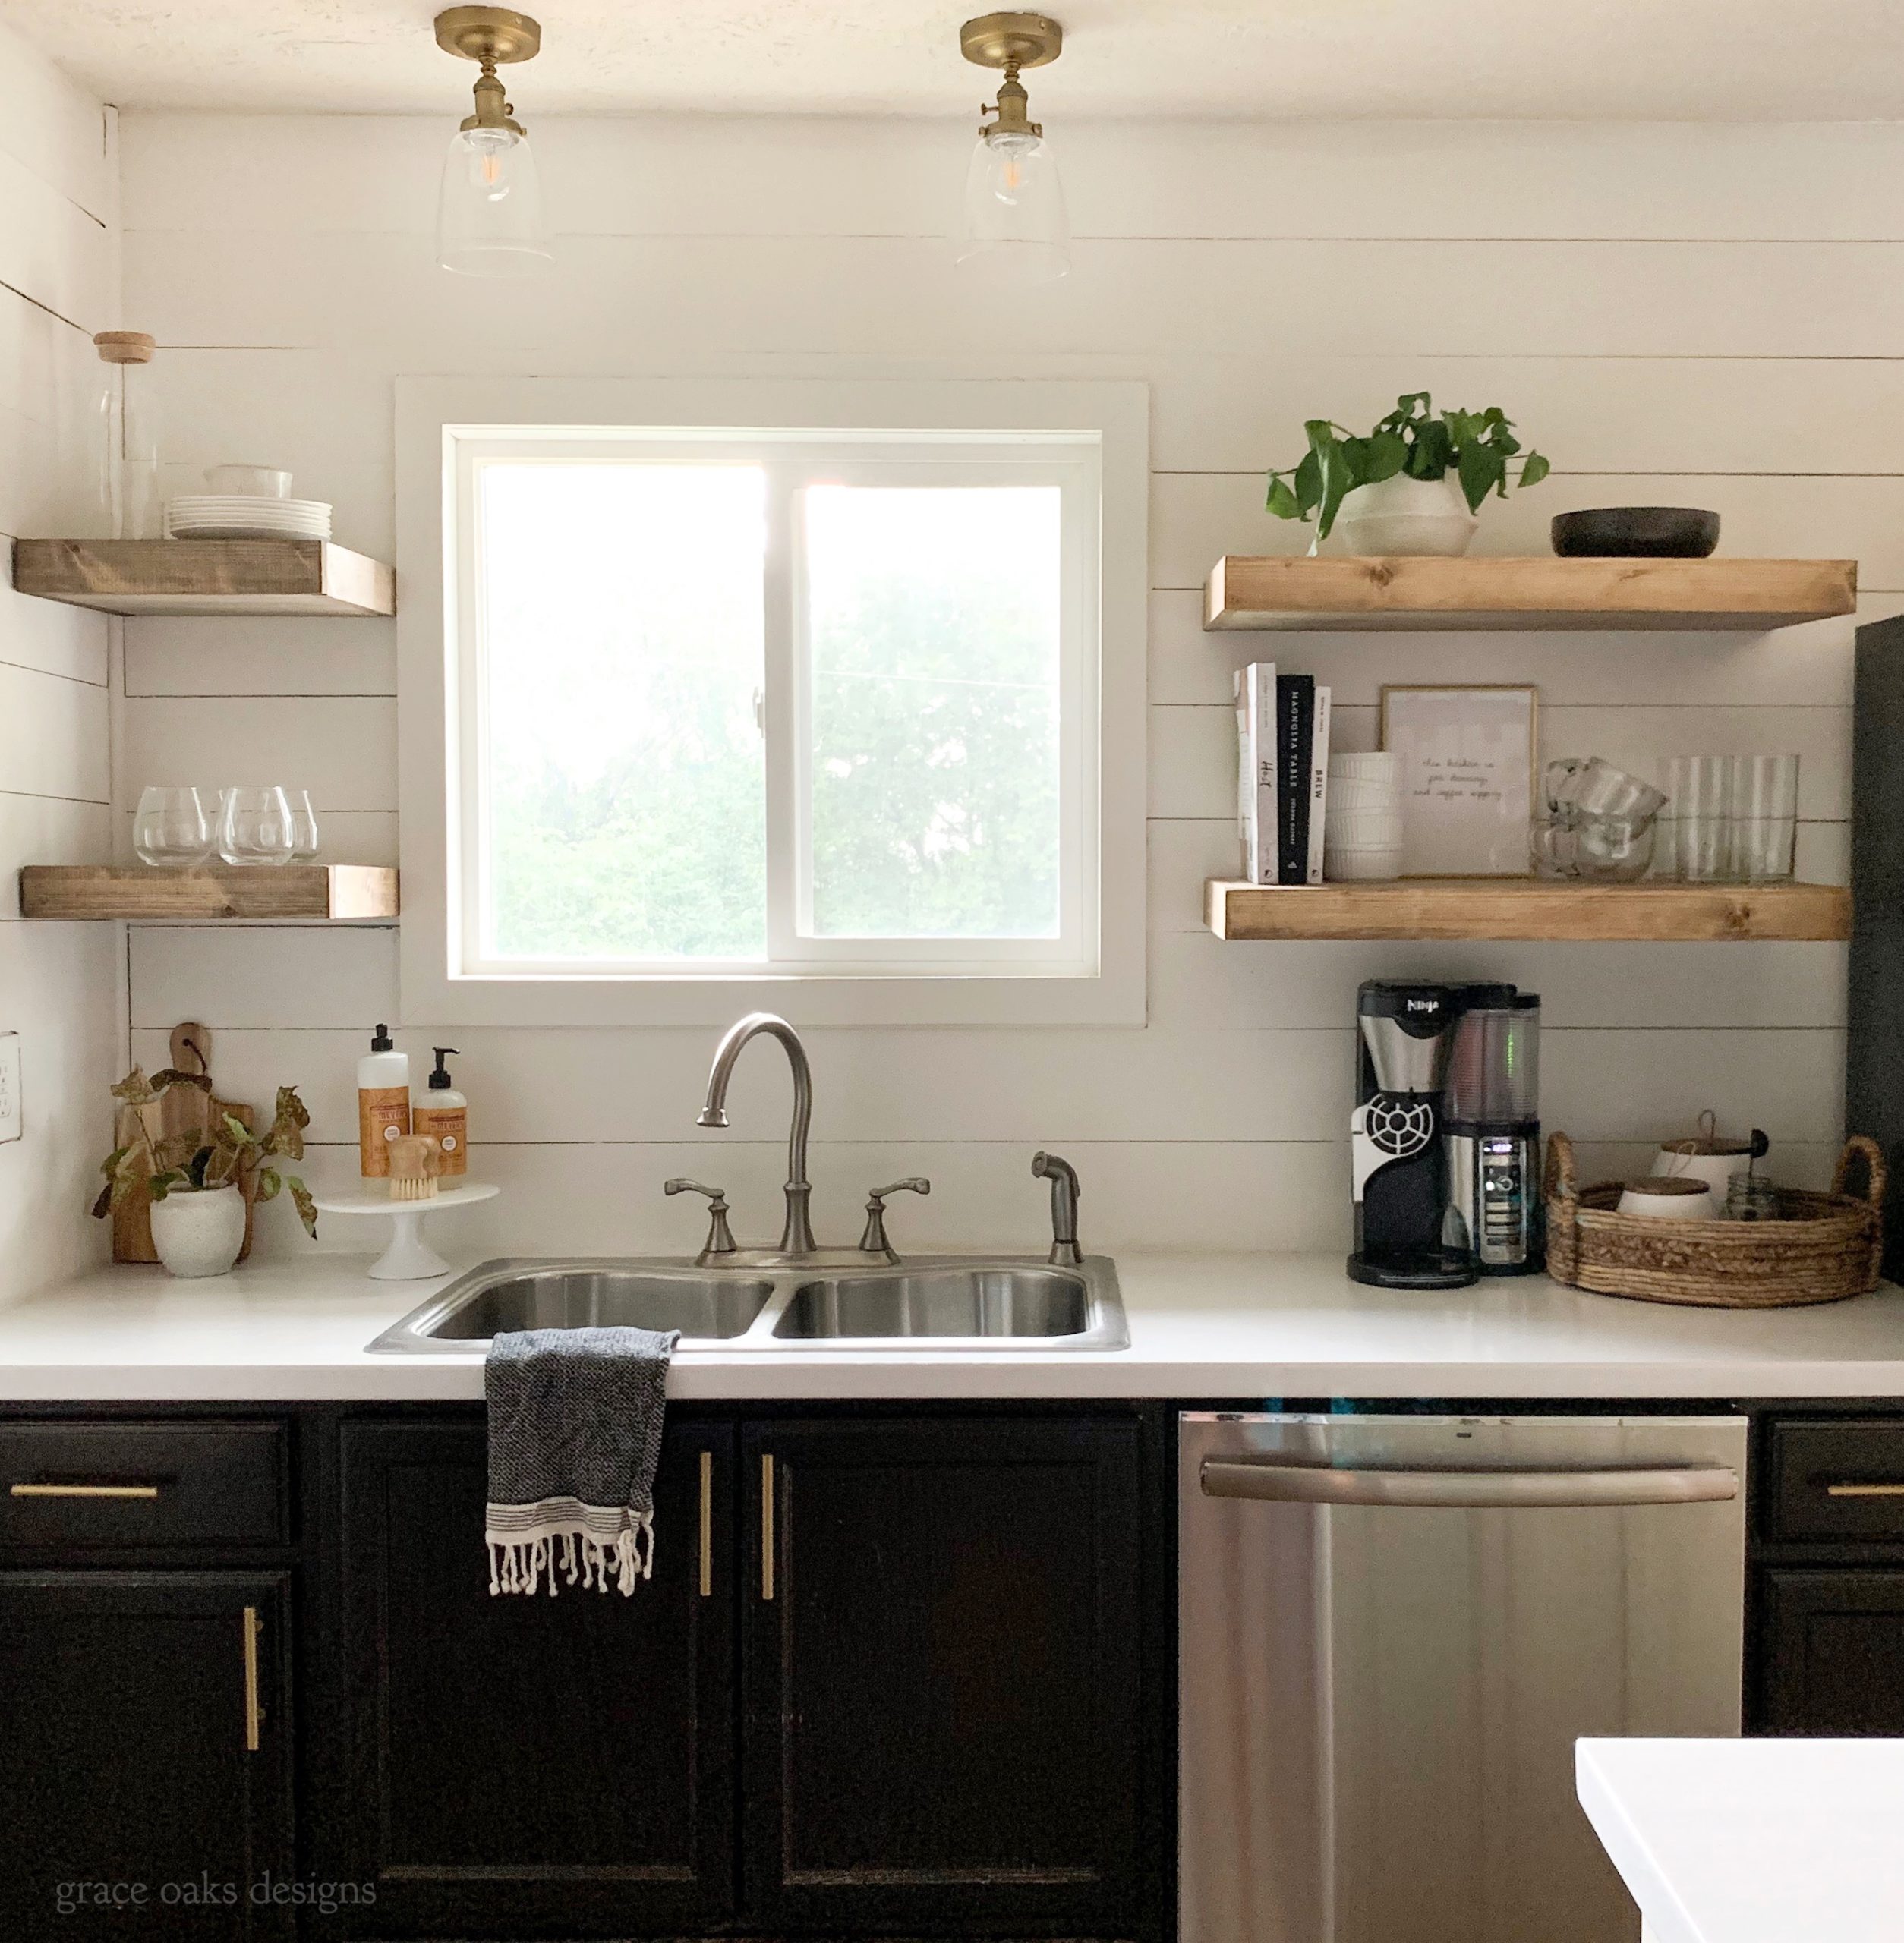
If you’re anything like me you love open shelving and creating all the #shelfies. Custom open shelving is such a large investment so in our kitchen refresh we decided to make our own floating shelves as thin as possible to look nice, sleek, and clean.

MATERIALS:
-1/2” 4×8 sheet Sande Plywood
-1×3” select pine board
-1×2 select pine board
-Drill
-1 ¼“ screws
-Nail gun
-1 ¼“ nails
-Level
-Tape measure
-Saw
-Sandpaper
-Stain/paint/sealant
TIPS/INFO:
-The plywood we chose is pricier but is sanded really smooth and has a wood grain that will take stain well. (Most plywood doesn’t take stain that well, but this will). Still will need to sand it smooth.
-Suggest using the more expensive select pine 1×3 boards for the shelves because they’re smooth and take stain so nicely (this is the bulk of the shelf you see, what faces out!)
-The 1×2 pine boards for the brackets we used the least expensive pine since it isn’t visible and works just as well since it’s for the bracket.
-I use an old sock/towel to apply the stain, apply it and wipe it back off so it doesn’t soak in the plywood making it darker. (plywood takes stain different than regular pine wood).
-If you choose to seal it I suggest Minwax Polycrilic in Clear Matte, zero sheen or yellowing with stain.

INSTRUCTIONS:
SHELF-
- 1. Determine how wide (far out from wall) want shelves to be. Most cabinets are about 12.5” we made ours same width as our previous cabinets.
- 2. Cut two matching pieces of plywood to 11” wide and whatever length for your space.
- 3. Cut the 1×3 pine board 1.5” longer than length of plywood piece.
- 4. Cut 2 1×3 pine board pieces to 11” long.
- 5. Sand smooth get all dust off and stain or paint. Once dry if you choose can seal it.

BRACKET-
- 1. Cut 1 1×2 pine board 1.5” shorter than the length of plywood.
- 2. Make 9” braces for the bracket using 1×2 boards every 4” of the length of first 1×2 piece.
- 3. Drill pilot holes then screw each brace piece on 90’ or perpendicular to the first 1×2 piece.
- 4. 1 bracket per shelf.

ASSEMBLING SHELF-
- 1. Using nail gun attach all 1×3 pieces at 90’ angles, making them flush.
- 2. Nail the first plywood piece to the 1×3 frame you just made.
- 3. Attach the bottom plywood piece to the 1×3 frame.
- 4. Should have a hollow box (bracket will fit inside of once installed)


INSTALL-
- 1. Find and mark the studs. Then, screw the 1×2 bracket into the stud making sure it’s level.
- 2. Slide hollow shelf over the bracket.
- 3. Screw shelf to the bracket from the top of the shelf closest to the wall (where it will be less visible.)
- 4. Add a screw on each side and in the middle to reinforce.


I hope this inspires you to create your own open shelving somewhere in your home! I love styling my shelves with all the pretty kitchen essentials. Form and function – always a win!