
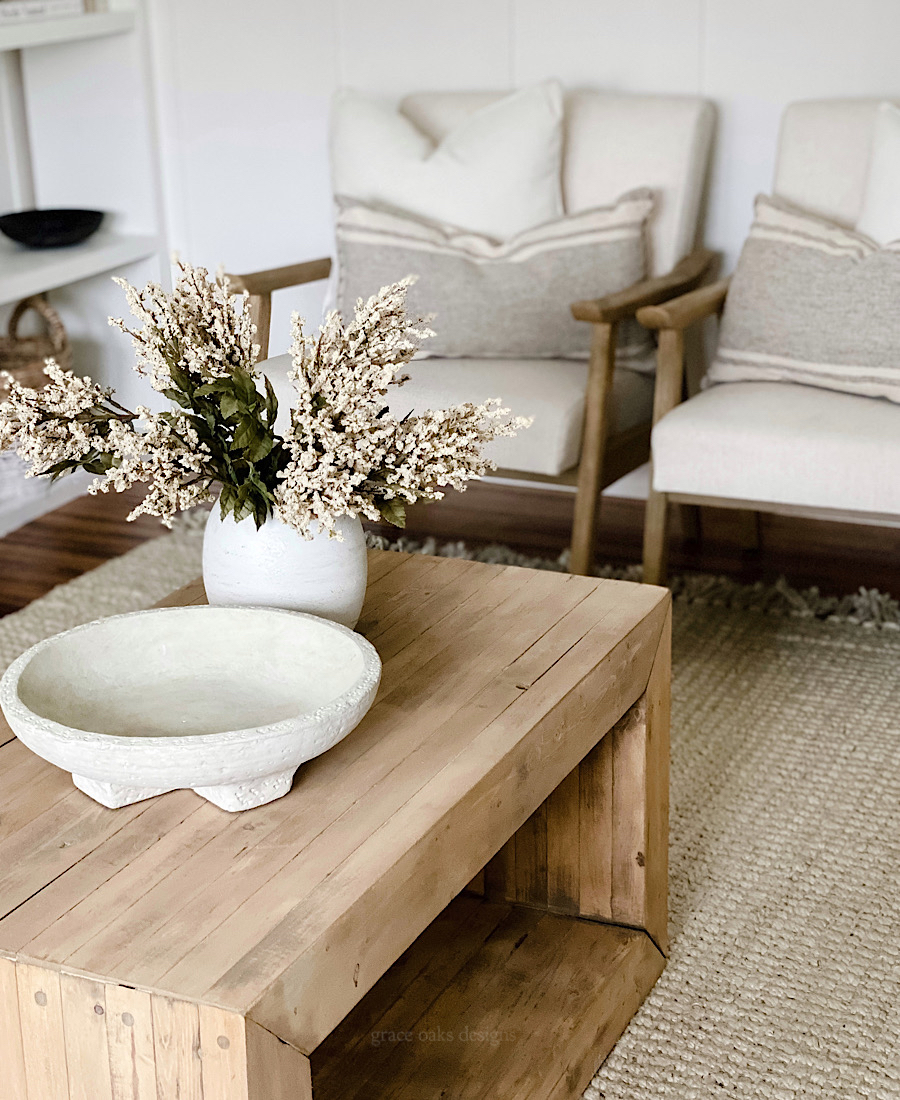
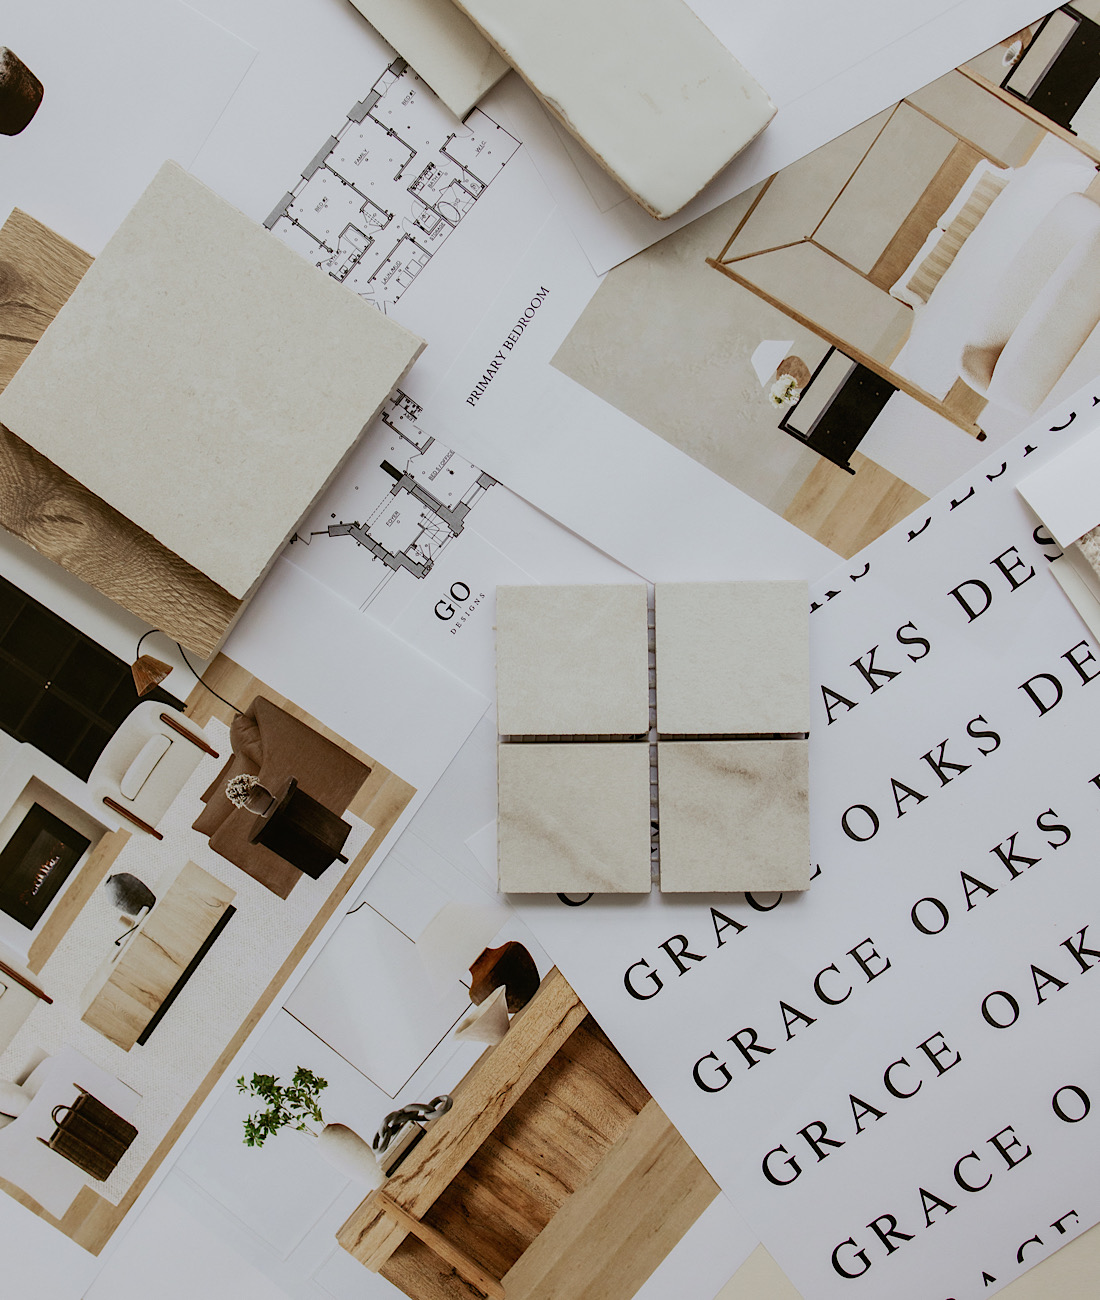
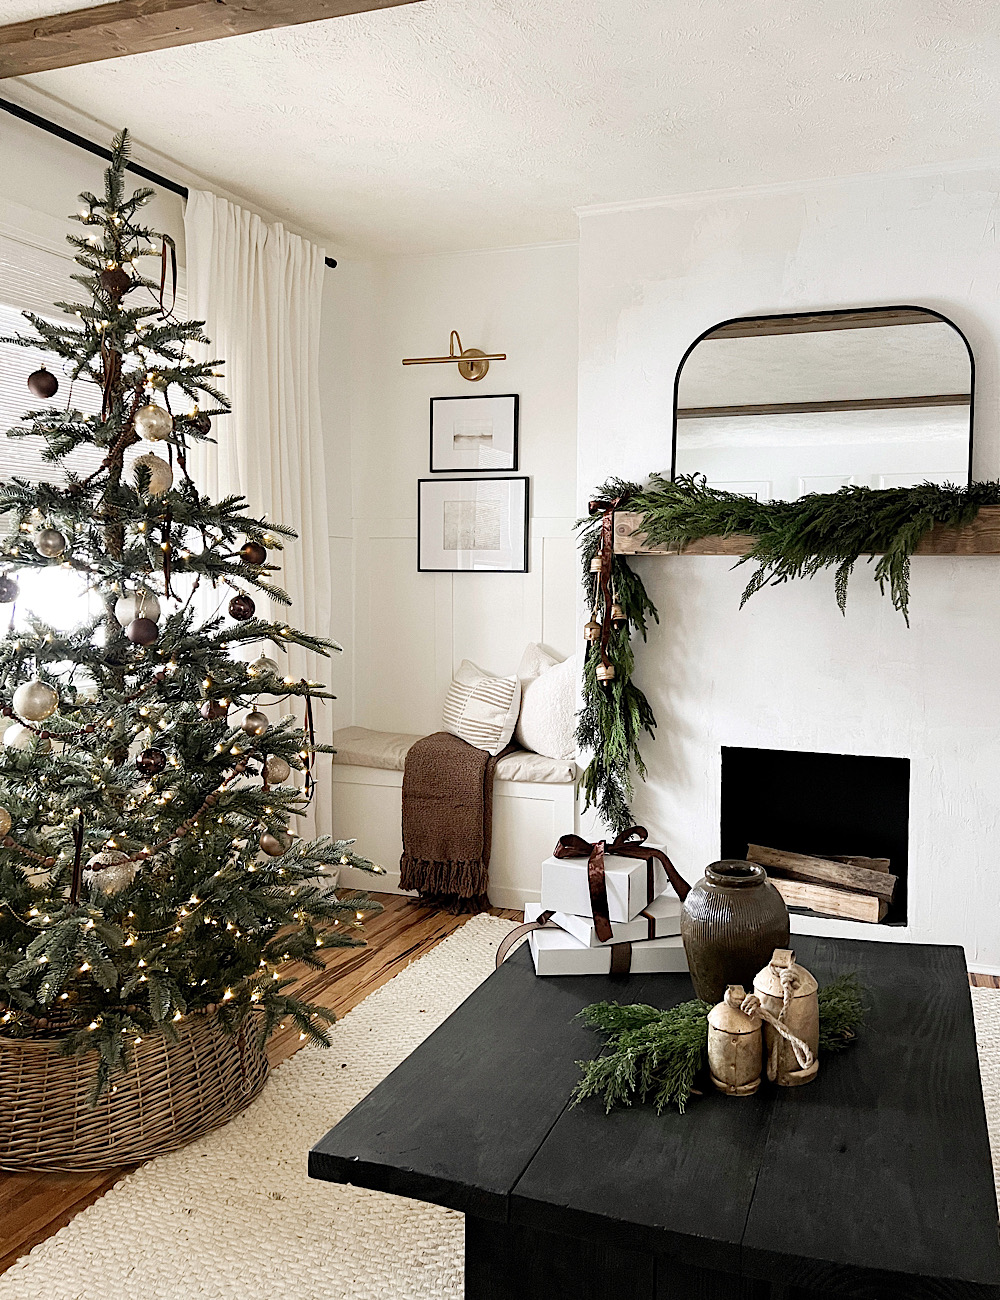
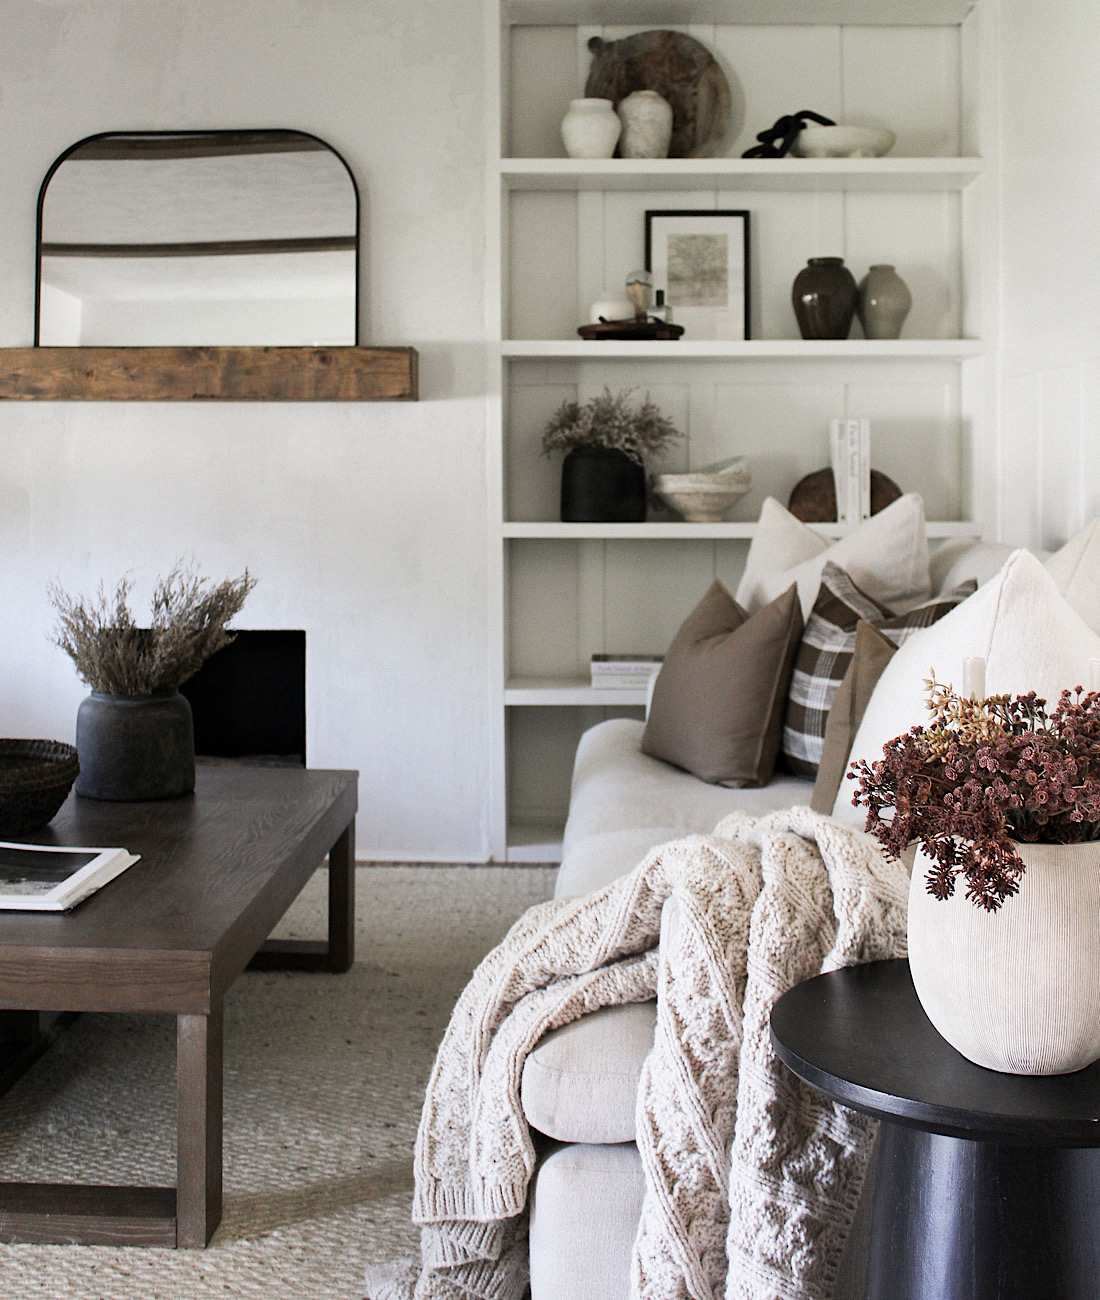
The first project of the year – a refresh in our newly updated living room including built-ins. When we did the fireplace a few months ago I hadn’t fully committed to the idea yet. I’m glad we waited on it to get it just right, but now that it’s done a new coffee table design was needed for the space. I’ve been drooling over this pottery barn coffee table for months and knew it would look perfect with our DIY console table.

We took the same approach as our DIY console table with 2x4s. Using only 11 2x4x12 boards we created this beautiful, solid coffee table.
Our Dimensions: 38”L x 19 ¾”W x 18”H But you can easily adapt to your own specific dimensions.

Cut 13 2×4 boards to desired length and 13 boards to desired width be sure to account for 45-degree angles for each end – 3” on each end or 6” total. Repeat a second set for width and length – total of 2 side width pieces, each one including 13 boards across. Also, total of 2 length pieces, each one including 13 boards across.


Using 3” screws drill pieces together minus two on each end. For those use wood glue. Wood glue and clamp the two end pieces to avoid exposed screws.


Take each side and length piece and router 1/8-1/4” off for a smooth seamless finish on each “slab piece.”

Join the length and width pieces at the 45-degree angles, mark down 1” and draw a line across.
Using a 3/8” drill bit drill ¼” in on every board across each slab piece. Drill pilot holes then 3” screws into each one.

Then, use a drop of wood glue with a 3/8” dowel rod inserted into each hole, hammer in. Hand saw off excess and sand smooth. Repeat on the top and bottom on each side.


To finish my coffee table, I wanted a light oak color similar to the finish of the pottery barn table. I used a very light hand with Varathane Golden Oak, rubbed it on and wiped immediately off. Next, created an acrylic paint stain mix using taupe craft paint for a pale brown wood tone mixed with a bit of water. Wiped it on and let it sit a minute then wiped off.

Want to see more of the process making it, check our IG in our highlights here. I would love to see if you make your own table and share on IG stories. Tag @graceoaksdesigns or send us a photo!


Hi Grace,
This looks amazing! Quick question – do you have more detailed instructions / the products you used for the final step of the finish (taupe acrylic paint with a bit of water)?
Any taupe color will work. I used acrylic taupe paint from the craft store. I make a stain using the acrylic paint and water mix, 2:1 ratio of paint to water.