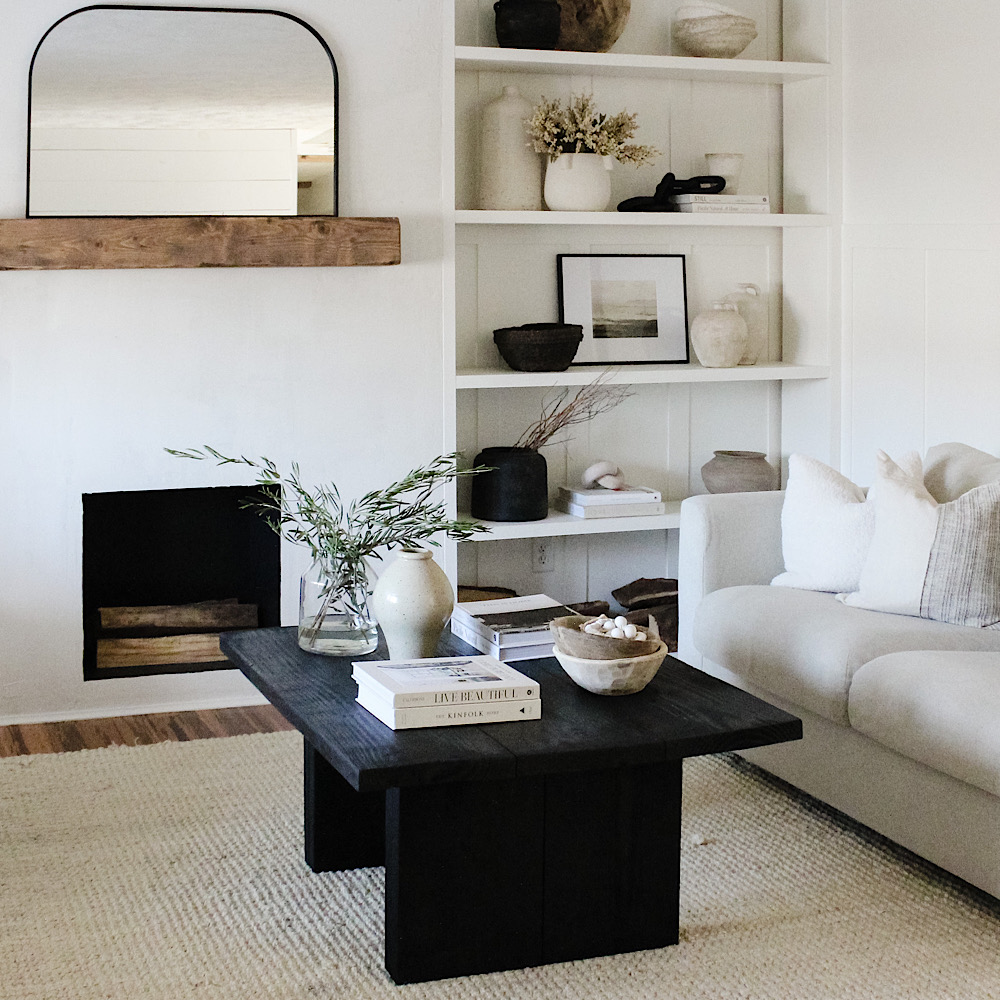
After a furniture layout swap in our living room I realized we desperately needed a larger, more substantial and different style coffee table to fill the space better. It’s always something, right? One thing leads to another. Insert our new DIY coffee table… we needed a square, but you could customize this to a rectangular size easy!
I really looked all over for a coffee table exactly like this and couldn’t find anything. What I did find similar was thousands. So, per usual we DIY’d it and it turned out even better than I hoped.

I had envisioned thicker, chunky legs and a solid planked tabletop. I needed a square table to fill out our space better but as I mentioned you could adapt to make it rectangular easily! I absolutely love how it turned out. Get the tutorial below and if you make it be sure to send us a photo/tag us on IG so we can share your project!

The before. I still love this table but we needed something different for this space, and I really wanted to add some black wood full of grain and character. Find our Pottery Barn Dupe Coffee Table tutorial HERE.

DIY CHUNKY LEG COFFEE TABLE – dimensions: 33″Wx40″Lx18.5″H
TABLETOP-
Cut 2×12 boards to desired length. We did 40″ long and used 3 boards across coming out after planing edges to 33″ wide.
Use a router or planer to square off the edges on each board to remove the rounded lip.

Take a steel punched flat bar and cut to length of tabletop boards. Lay out tabletop boards pushed together as closely as possible. Screw the steel flat bar on the underside of the boards. We inset the flat bar 4.5″ in. This connects your tabletop boards together.
*you don’t see this unless you’re underneath the coffee table looking up at it but if you prefer you can spray paint the zinc black to any other color to hide it.


Take wood glue to the tabletop seams where the boards meet and clamp overnight for a super flush tabletop.

LEGS-
Cut 2×12 boards to desired height – 8 total pieces. Our height is 18.5.”

Screw 2 boards together from one side facing inward and bury the screws. Fill hole with a mixture of wood glue and sawdust to hide the screws.
-repeat 3x to make a total of 4 legs.


Use a 90-degree metal angle brace to attach each leg to the tabletop on the inside underneath.
*this is also not noticeable unless you’re underneath the coffee table but spray painting it black will hide it for a black stained table perfectly or even a dark stained table.


*before assembling be sure to test the table legs are level with tabletop.

Sand smooth and finish as desired. I used Minwax Semi-Transparent in Classic Black and did two coats. Let fully dry and seal with Minwax Polycrilic in Clear Satin to protect the top. The polycrilic doesn’t mess with the stain tone and also produces no sheen when using clear satin.
*Disclaimer: this table is VERY heavy! Alternately, you could try pocket screws/kreg jig however this is a very solid piece. Between the steel brackets/screws and wood glue it is held together very well.

I’d love to hear your thoughts can you believe how simple this build is? All from 2×12 boards and looks so high end! Are you making one? I can’t wait to see your projects – be sure to share them with us!
